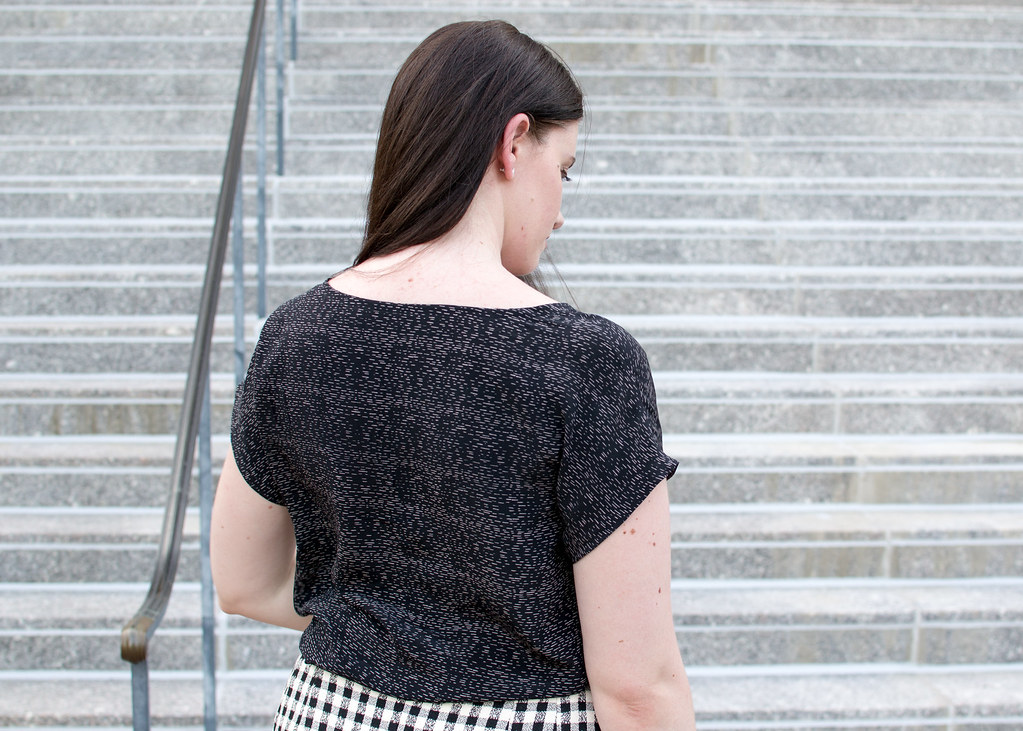
Otherwise known as the "fancy" tee :)
You know, I just realized as much as I favor silk, and despite this not being the first silk item I've made (even this year!), this is the first one to make it onto the blog. Okay, save for that bias red dress I made back in the Sew Weekly days - ah, my former fearless self haha
I had somewhat different plans for this shirt when I started. I was hoping to be able to finally conquer drafting a set of slopers and draft from them my dream v-neck woven tee. But, sometimes time gets away from you and the next thing you know, you've spent a week working on the first half and a deadline starts to loom overhead. So, I'll definitely get back to the slopers (side note: loving Suzy Furrer's Craftsy classes!), but in the meantime I decided it would be faster to alter a pattern I've already worked with.
I first made Simplicity 1690 two or so years ago, straight from the packet in a turquoise rayon challis (unblogged, save for Me Made May). I really like it and it was a quick gratification make, but I knew with a few tweaks, it could be even better. For starters, the shirt as designed is too short, particularly if I want to be able to tuck it in, which in this case, I certainly did. It also had significantly more ease at the waist than the hips, which seemed to emphasize rather than flatter my "pear" shape. It was also a bit small in the bust and the shoulders. But, it had potential, so here are the changes I made.
To start:
- graded pattern to a size 12 at neckline, shoulder, and bust, 14 at sleeve, and 18 at hem
- lengthened by 7/8" to hit 1 1/4" above low hip line (in other words, 7 3/4" below waist)
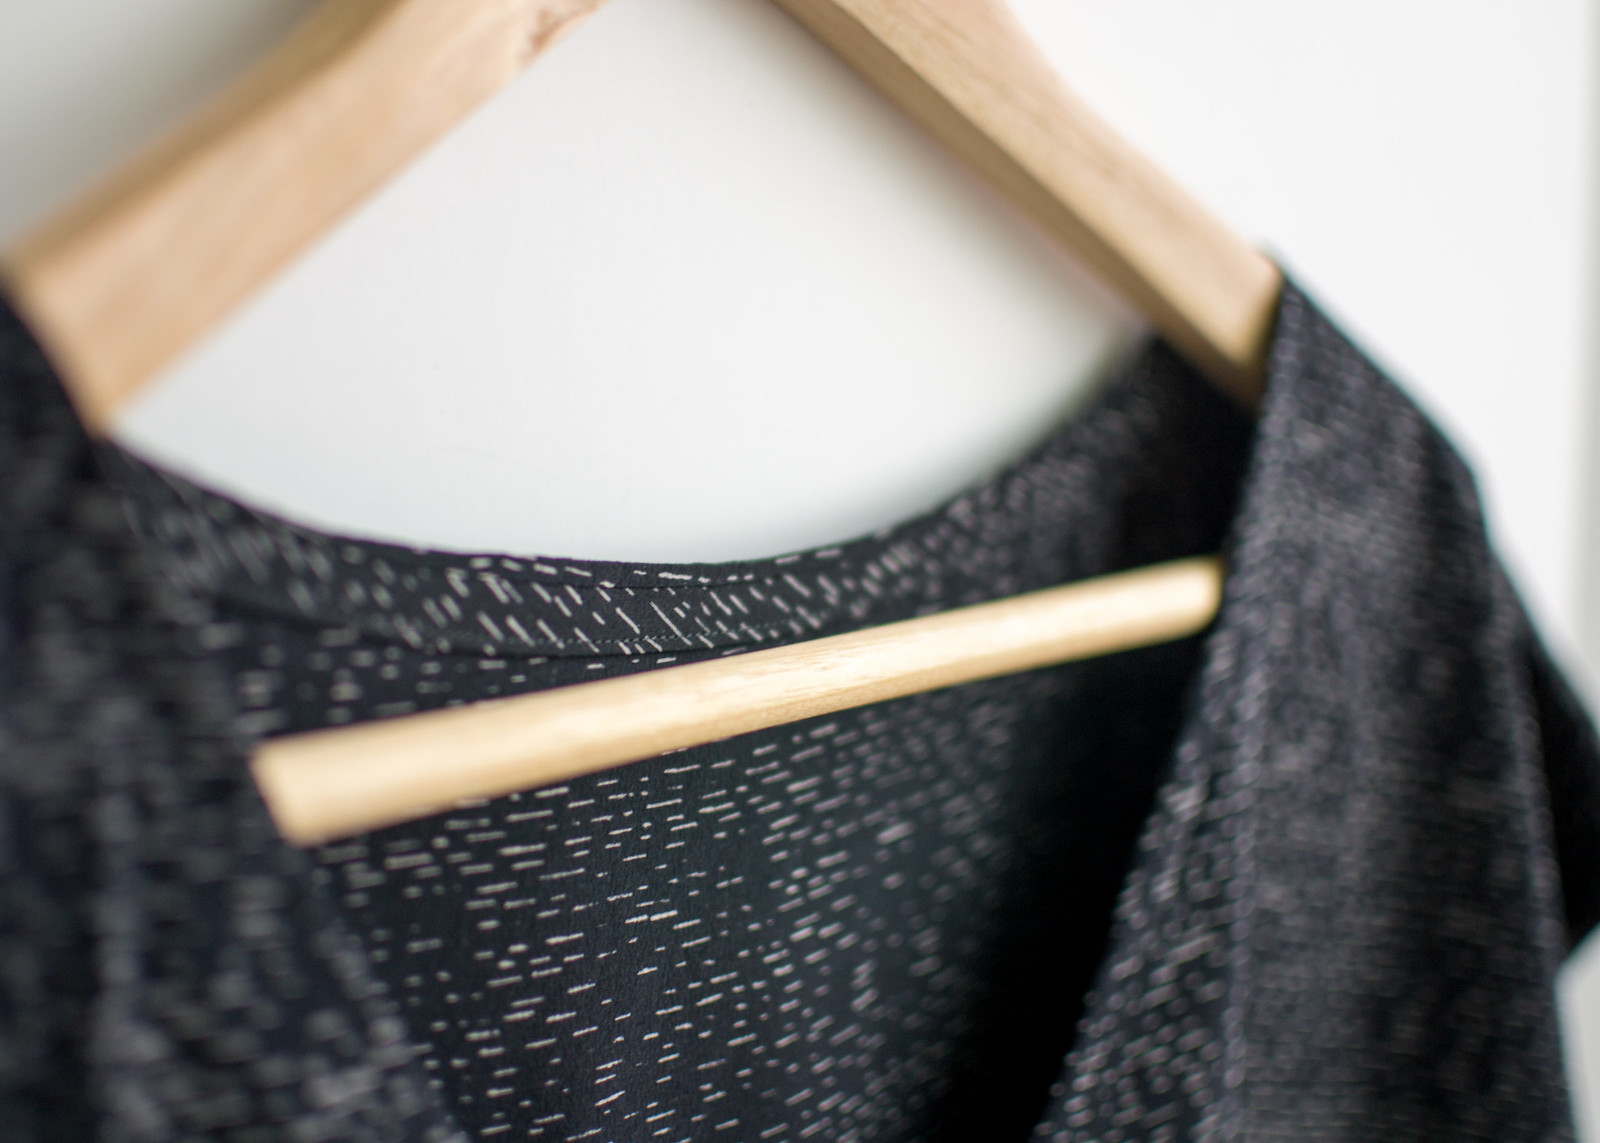
- altered neckline to a slightly curved v-neck with the center dropped by 5"
- made 1/2" broad shoulder adjustment
- made 1' full bust adjustment (which created a steep bust dart, but I liked it and left it)
After initial muslin:
- lowered apex by 1"
- removed 1 1/2" length at CF, tapering to nothing a sides
- added 1" ease to hip
- added 1/4" length to sleeve
- added 1/4" circumference to sleeve front
It may seem picky, but I really wanted that breezy silhouette that can be so hard to achieve when your waist is so much smaller than your bottom half. To be honest, I'm not entirely sure I fully succeeded, but I'm reasonably happy with the results.
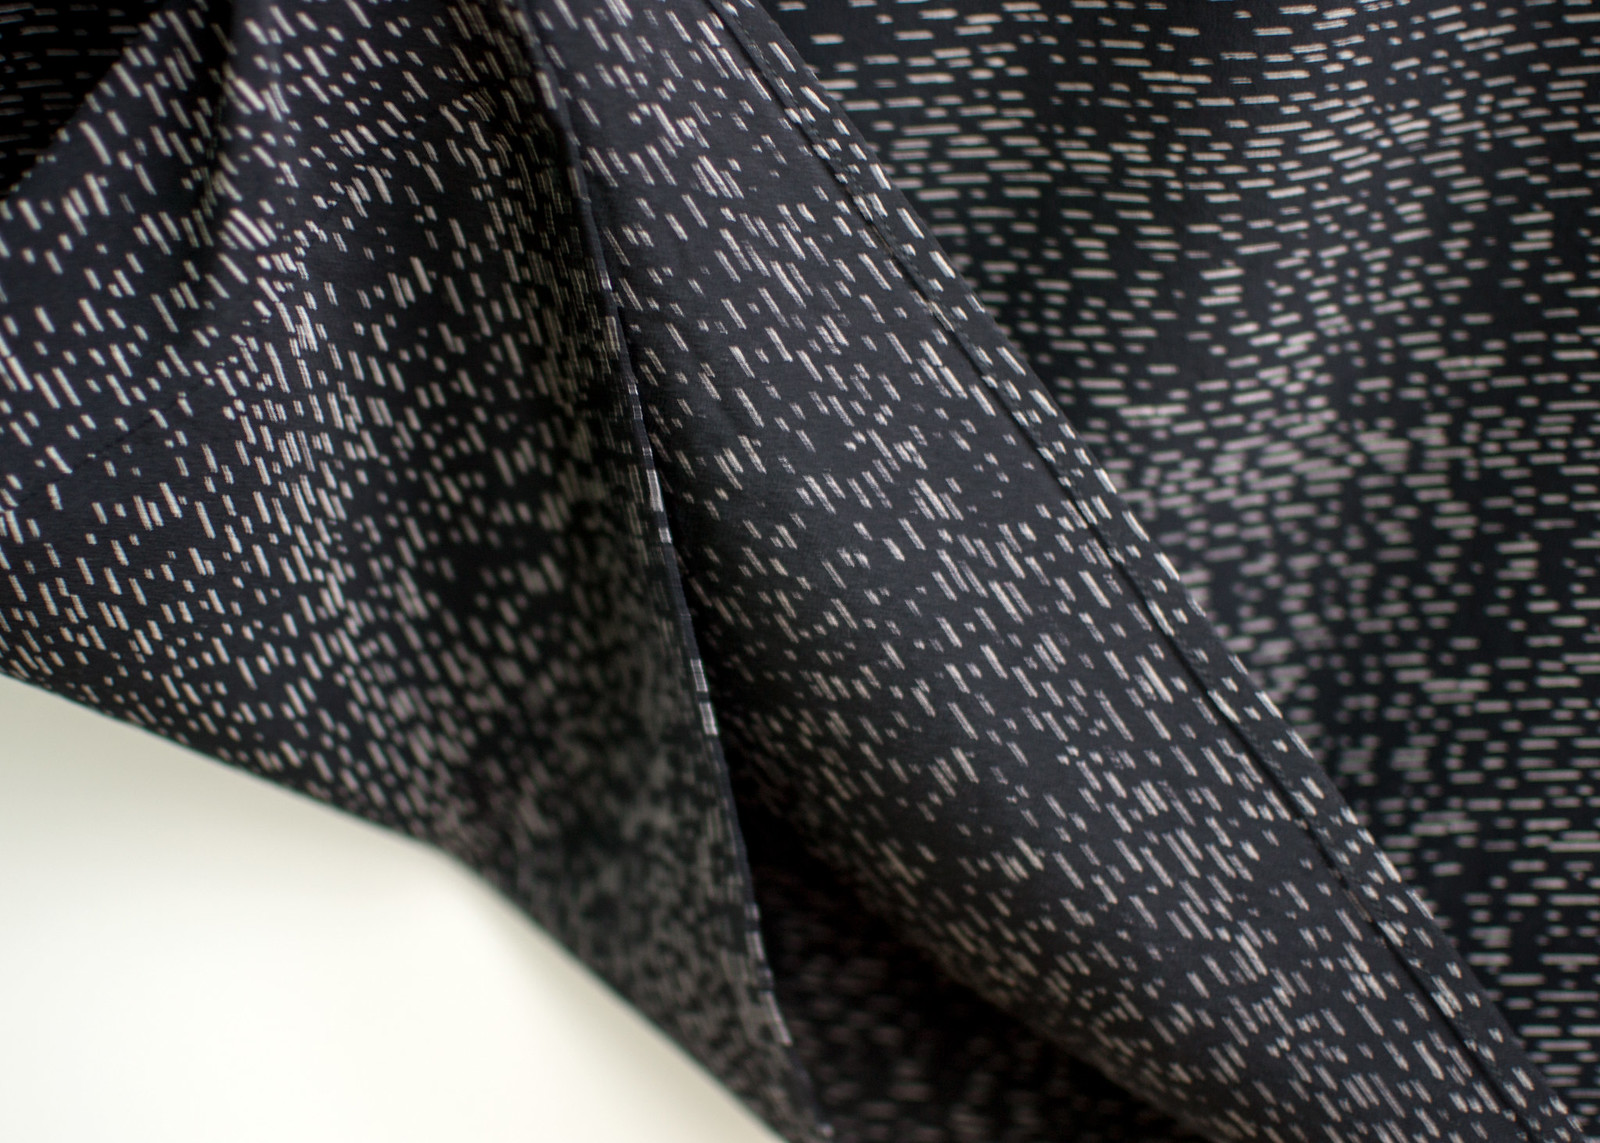
Once I was comfortable with the alterations, the actual construction was easy! There are only two pattern pieces after all. Both front and back are cut on a fold. I used French seams since I expect to treat the top more as a t-shirt, meaning it will get washed (as opposed to dry cleaning), and often, and I didn't want it to fray. Side note: is there a trick to French seaming a cut-on sleeve? Doing so was easy, but then I had to clip it at the pivot point for the sleeve to move freely. For the neckline, I used self-fabric bias, folded in half. But, something tells me this wasn't my best option for a v-neck. Despite very careful handling, and a bit of stay-stitching, I'm convinced the neckline stretched out a little. It sits much wider than expected, and being a slippery silk, I'll actually need to add bra carriers to keep if from shifting off my shoulders. But I'm sure you could all see that from the photos :P I used more of the binding for the sleeves, in their case, hand-sewing it down, rather than using machined top-stitching. For the hem, I sewed a line of straight stitches at 1/4" from the raw edge and used that as a pressing guide to turn it under. Next, instead of trimming that turned-under bit, as you would for a baby hem, I simply folded under again and pressed. This gave me a hem of just over 1/4" deep, which allowed me to use my 1/4" guide presser foot to evenly stitch the hem, just catching the folded edge underneath. Obviously, it's a bit of a cheat, and nothing that hasn't been done before, but I was really pleased with the finish, and a shirt like this didn't need the babiest of baby hems anyway. :)
By the way, does anyone have any tips for eliminating that little flick the sleeve hem does at the end of the shoulder seam? I assume it means something is wrong, but I'm not sure what. I was very careful while hand-stitching the hem, so I'm confident it isn't stretched out. Maybe a fit issue?
Minor oopses aside, I'm calling this one a win. It's insanely comfortable, is obviously a staple color, or rather absence of color, and will dress up or down rather nicely :D I'm sure there will be more of these in my future. Who doesn't love an easy win!?
Oh! And if you're curious about my [new favorite] skirt, yep, I made that too! It's a silk/wool bouclé and I'm in love. It was a project for Cali&Co, so keep an eye out for a post on it soon!
Top: Simplicity 1690, silk from FineFabricsUSA / Skirt: Simplicity 2154, bouclé from Cali Fabrics* / Sunglasses: Ray-Ban / Camera bag: Isaac Mizrahi / Shoes: Corso Como / Earrings: Swarovski
Photo location: City Hall, Roswell GA and SCAD FASH, Atlanta GA
Photo location: City Hall, Roswell GA and SCAD FASH, Atlanta GA
Happy sewing! x
*Disclosure: I used my Cali&Co blogger allowance toward the purchase of the bouclé skirt fabric. As usual, none of the links are affiliate links and all opinions are entirely my own.
*Disclosure: I used my Cali&Co blogger allowance toward the purchase of the bouclé skirt fabric. As usual, none of the links are affiliate links and all opinions are entirely my own.


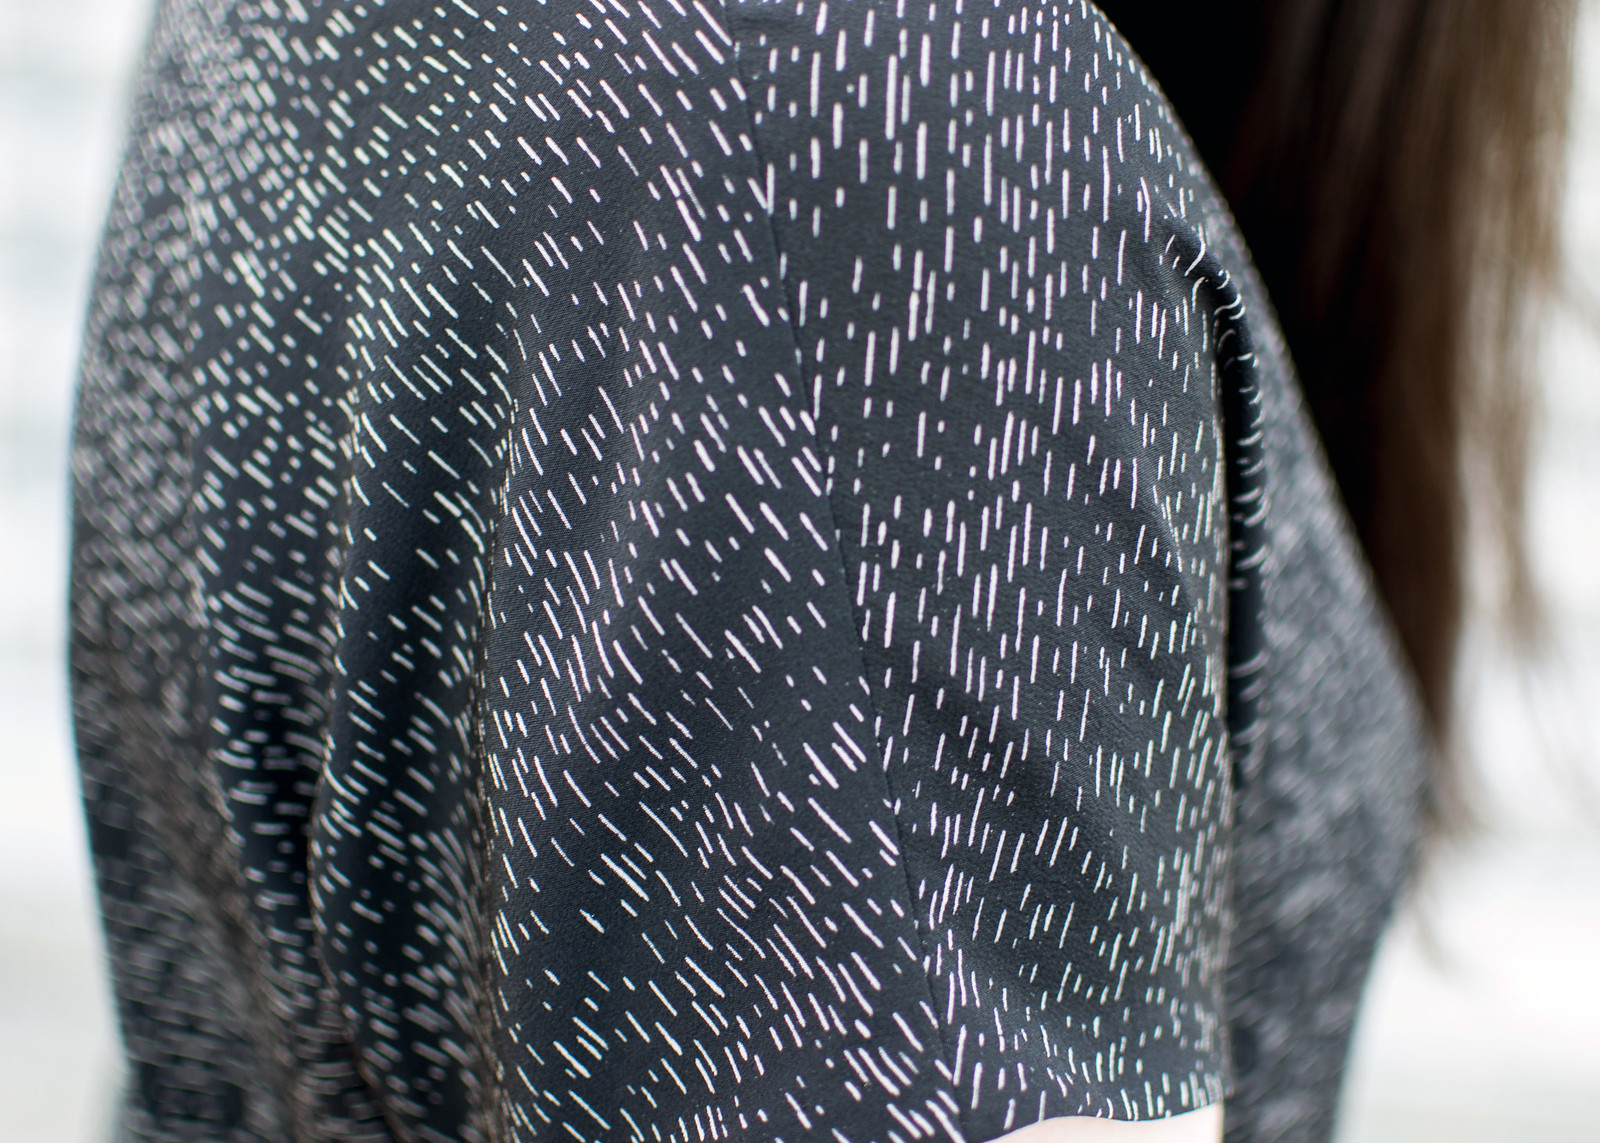




Ooh! The v-neck mod is really pretty on you! And that little upturn on the sleeve is just a byproduct of a kimono sleeve. I did a bunch of reading on it a while back and from what I could dig up, there isn't a way to pattern a cut-on sleeve that avoids that. Interesting, isn't it?
ReplyDeleteThank you! :) Oh good! I thought for sure I kept doing something wrong to cause it. Very interesting!
Delete