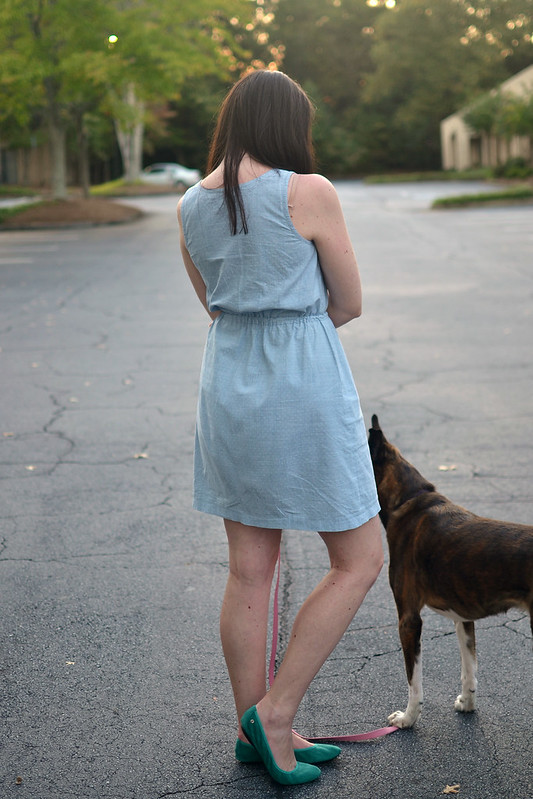
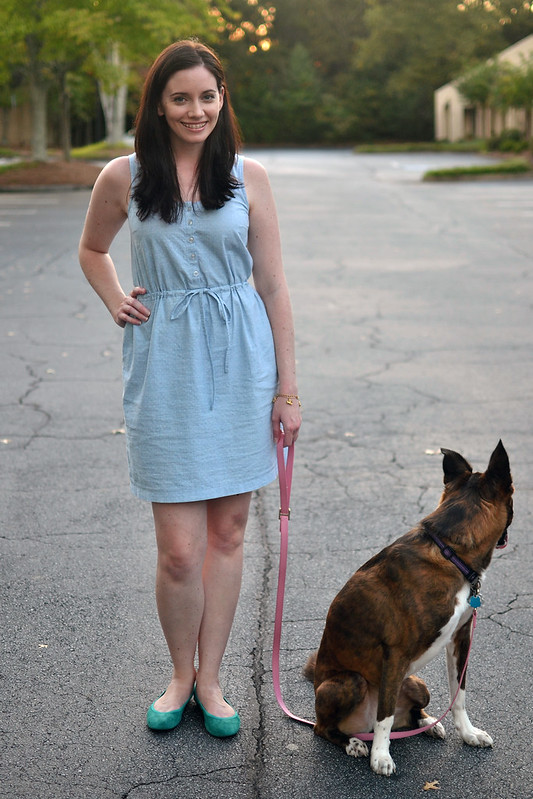
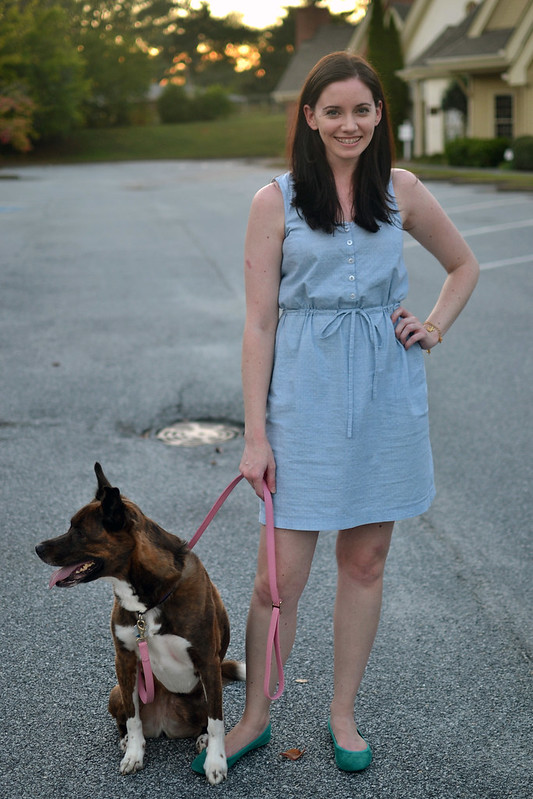
Excuse the wrinkles and straps - in an effort to blog again, and make "photo sessions" as painless as possible, we've started taking photos during our evening walks. Also, CoCo will be a frequent guest, as Brandon can't manage her and the camera ;)


Why, yes, yes that is a storm drain haha - let's just call these photos very authentic!
I never posted the draft I wrote after Me-Made-May regarding the topic but, after the fun of that month, it was more obvious than ever that my wardrobe has a split personality - part laid back, part tailored, and part feminine vintage. For a while, I was disappointed with the fact and also had a moment of concern that you, my lovely sewing friends, would be so too. But, I got over it quickly and I know that many of you probably feel the same way.
So, in contrast to my last, uber-girly dress, I give you the first of many (three so far!) Southports! By now, I know you've all heard of this pattern. It sort of took Instagram, and presumably the blog world (some day I'll catch up), by storm. It seems such a quiet pattern - a simple sleeveless dress, maxi- or knee-length, with a drawstring waist. But, what it really is is perfect! Sure, girly dresses are great for dressing up, or rather just dressing, when there's time (I genuinely do wear my "dressier" items - just ask my doctors or the regular employees at Whole Foods haha). On the other hand, the Southport is absolutely perfect for throwing on as you rush out the door. Want to sleep in a little in the morning? This dress is the answer! You throw it on and look both somewhat polished, or at least "put-together" (don't forget how many people will be wearing sweatpants...) and on trend. A great combination for such little effort! Isn't that exactly what so many of us are looking for? Simple and effortless? Each of these dresses gets worn at least once a week (sometimes more!). Side note: Even Brandon loves these dresses and says I should make more because he loves how quickly I get ready with them haha!
Now, I could pitch the pattern all day (note: I did pay for it, I promise, and have no affiliation with Kelli/True Bias) but, what you came for was the details, right? Well, those are all positive too. It's just what one would want from an Indie sewing pattern, or any pattern for that matter. I had absolutely no problems assembling the pdf and everything was perfectly drafted. Each and every piece went together exactly as it should, making assembly faster and more fun. The included instructions (I didn't reference the sew-along so, I can't comment on that) were thorough and well thought out. You can tell that Kelli herself sews and carefully considered how best to assemble this dress. The construction order makes perfect sense and I particularly liked her method for finishing the neckline binding/ turning the button band. By the way, the button band is cut-on so, there are no tiny fabric strips to deal with. As someone who can be very particular about her sewing, and typically takes several days or more to sew one dress, even I found this to be a fast sew. My third version, to be posted later, actually took only about a day! I'm fairly certain that's a record.
So, what changes did I make? Only a few fitting adjustments:
- I cut a size 4 bodice and waistband, grading at the hips to a 10 in front and 12 in back (this turned out to be 1 size too much). Clearly, I'm not the target body type but, I think it still works for me. For reference, I'm usually in the realm of 34"/28"/40".
- No bust-adjustments this time as it's not a close-fitting dress and is drafted for a C cup, instead of the standard B (yay!)
- I added 1/2" to the bodice (and later, another 1/2") Note: I'm 5'10" but, short-waisted so, half the time, I don't need to lengthen a bodice. The drawstring definitely affects where the waist hits when worn so, keep that in mind.
- I used 5 buttons, instead of 4, in part because I tend to think odd numbers look better and in part because the added length meant wider gaps, which I didn't like
- I straightened the hip curve a bit. Most of my current "junk" is on my bum, not my hips so, I end up with unflattering, empty seams.
- For that "junk," I added 1/4" to the skirt center-back
- I added an inch to the length of the skirt (on my third, I added 2 more)
My notes on this pattern were rather brief, which is a good sign. BUT, one thing I will add, if you're new to bias tape, particularly purchased, as I was, make a note to clip your curves! I don't think I've ever seen this mentioned in tutorials but, it makes a huge difference. I'm ashamed to admit, I didn't do it at first and turned to Instagram when my neckline wouldn't press completely flat. It's second nature for me to clip curves when working with a lining so, of course, it's needed with binding too... oops! Lucky for me, this Lisette cotton (from Jo-Ann a year or two ago) was very well behaved and was quite happy to be ripped and resewn. At least I don't expect to make that mistake again!
So, have you tried this pattern? Or, do you have a favorite that works in the same way for you - quick to sew and effortless to wear? I could always use more. At little variety never hurt anyone!
(By the way, how do you feel about this format - all the photos at the beginning? Is it easier to read that way? Or does the text get to boring without anything to break it up? And, are fitting notes helpful? What review details would you like to see?)
(By the way, how do you feel about this format - all the photos at the beginning? Is it easier to read that way? Or does the text get to boring without anything to break it up? And, are fitting notes helpful? What review details would you like to see?)


Another cute dress Jen! I haven't made this pattern yet but agree that it would be a great "go to" dress to throw on in a hurry. Taking blog pictures are not always easy, glad to see you found a way to make it easier!
ReplyDelete