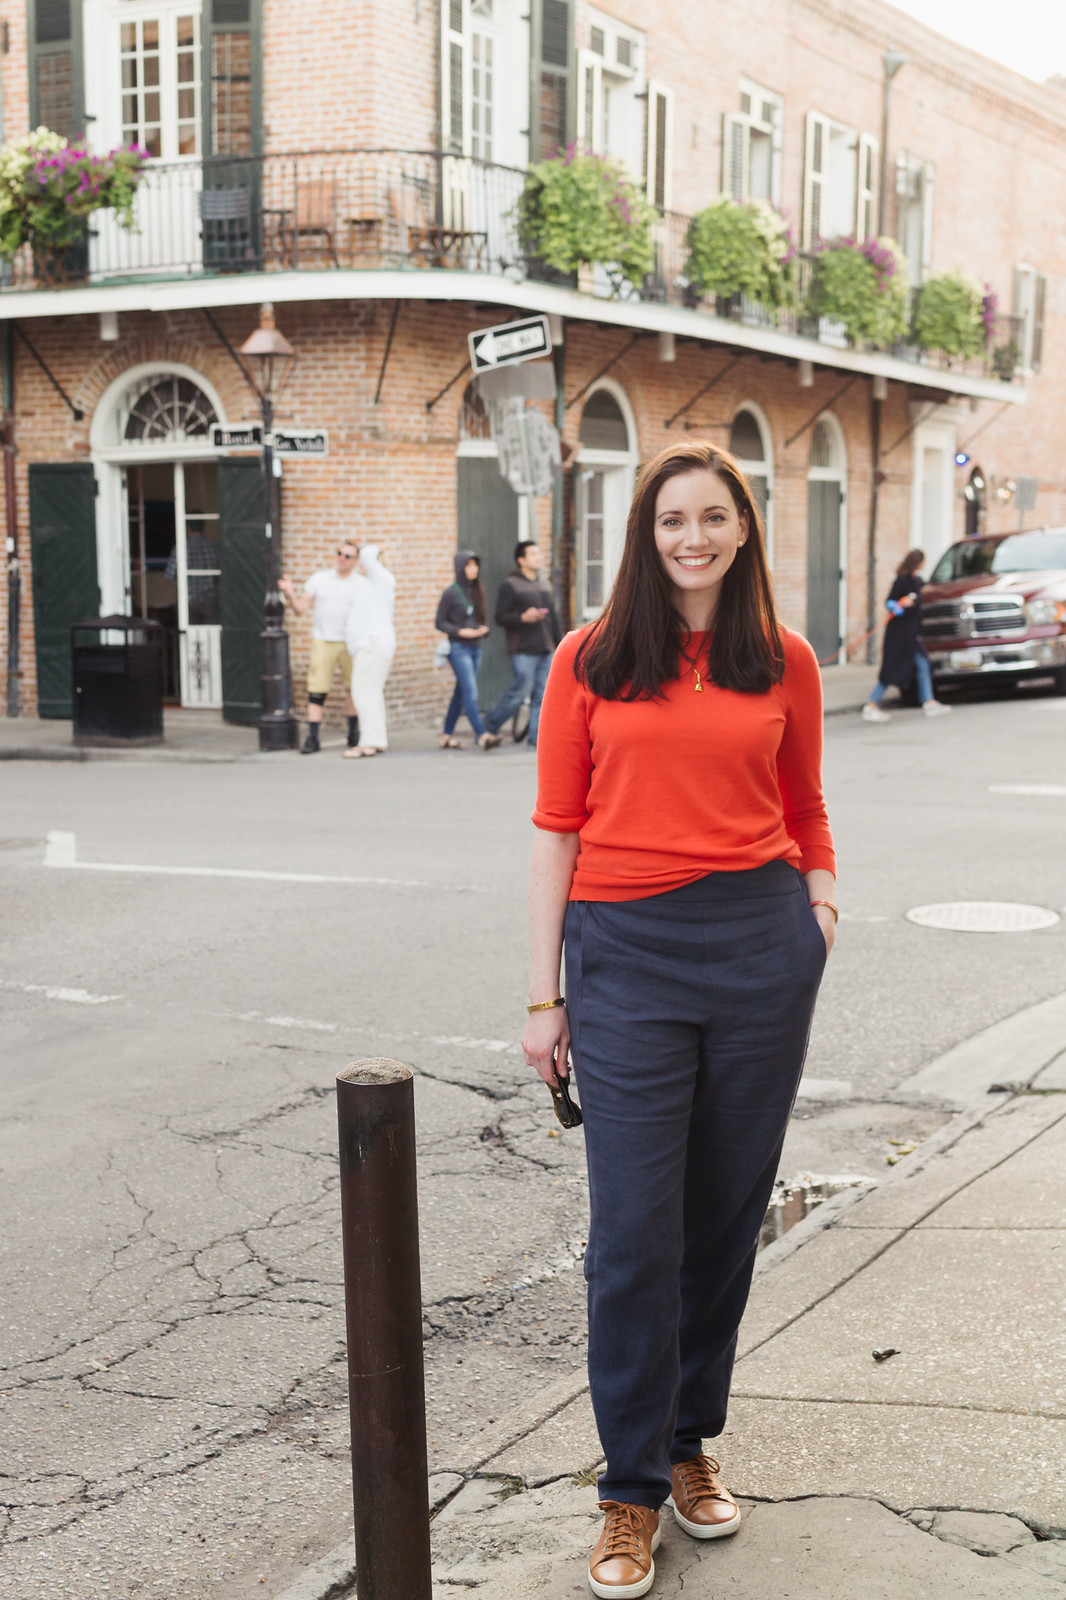
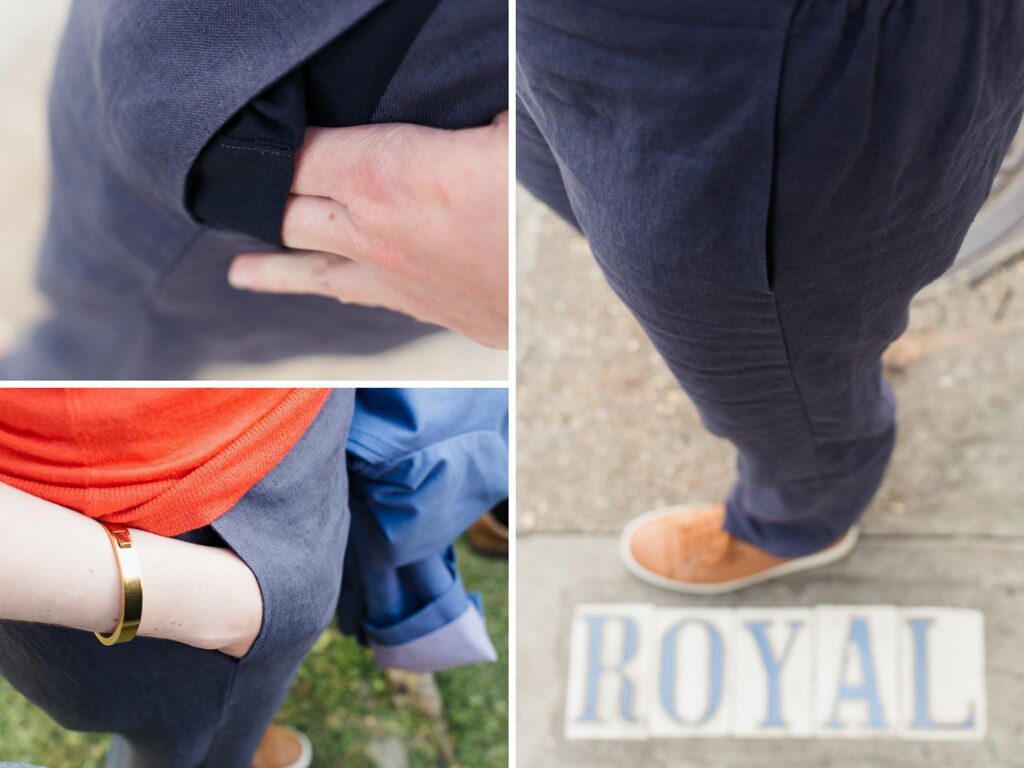
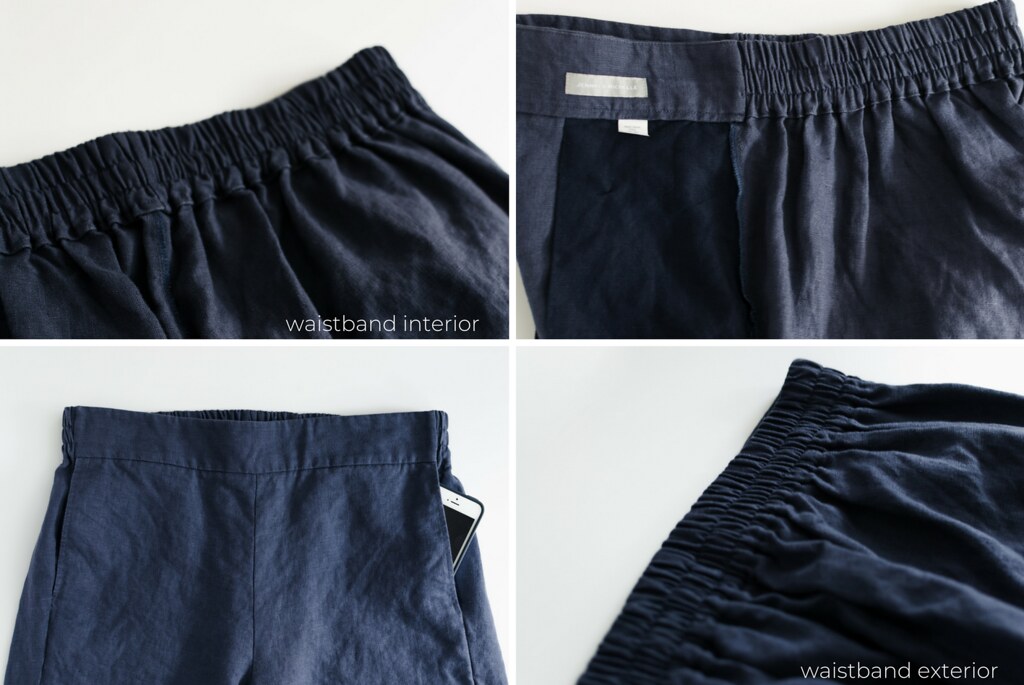
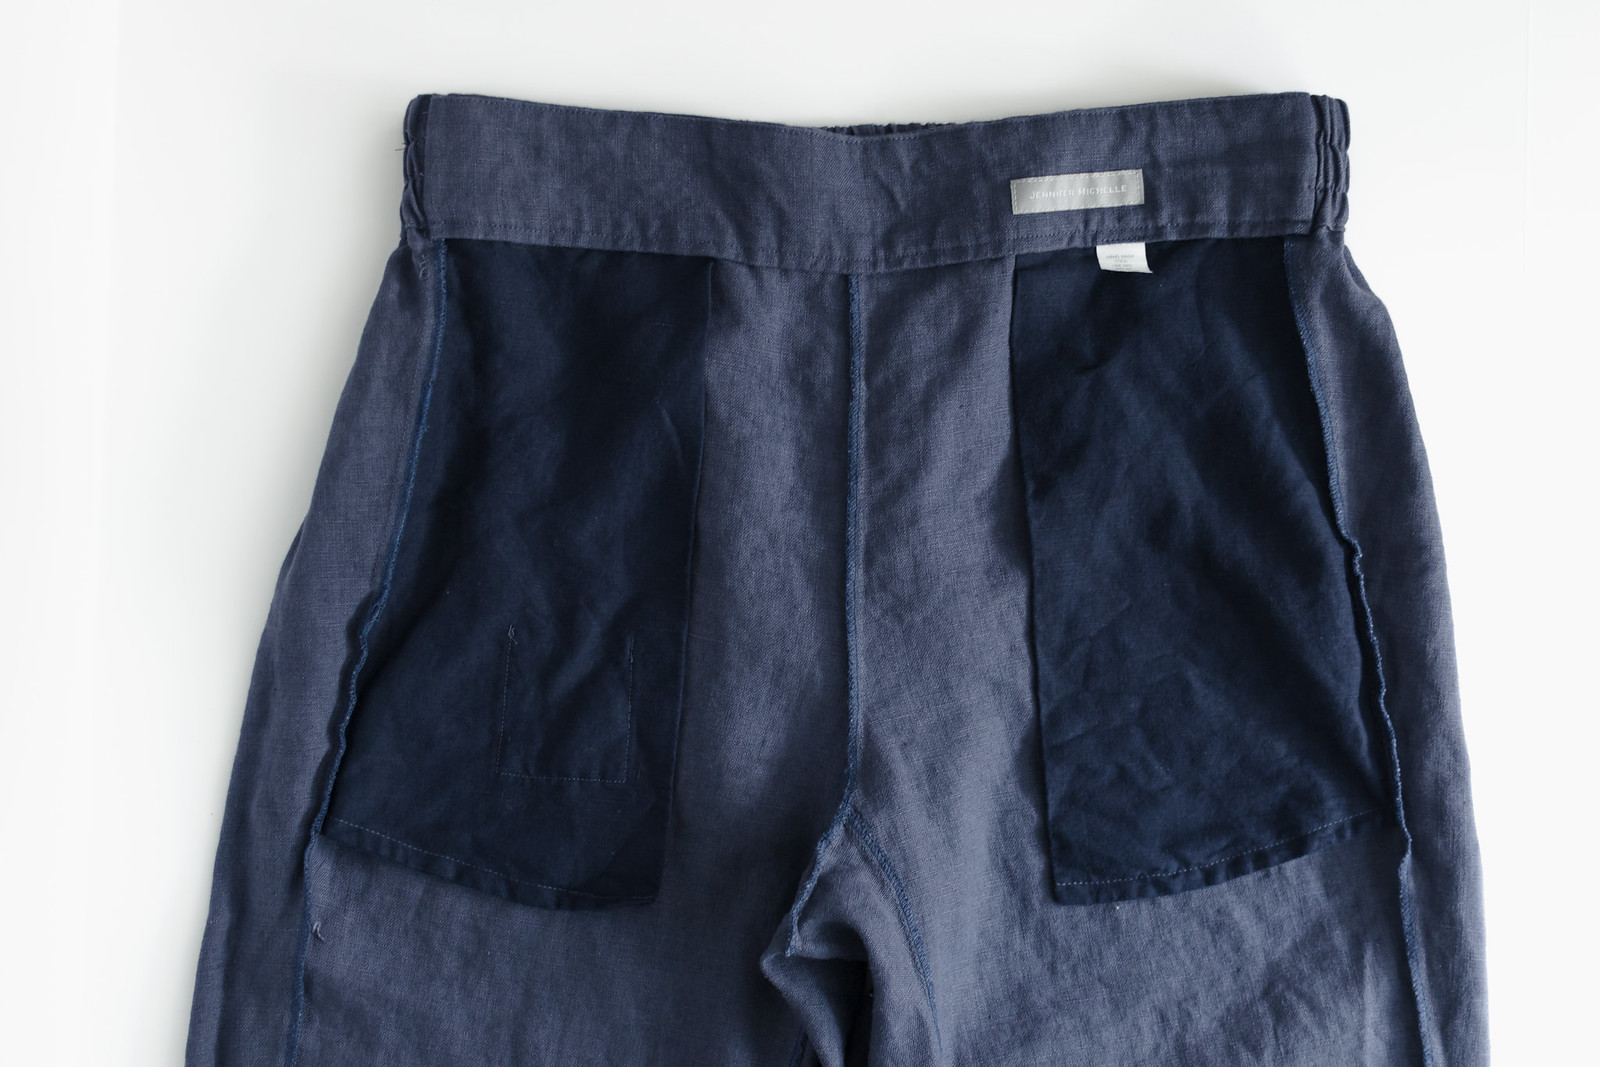
(That extra little key pocket isn't included in the pattern, but rather was my fiance's idea and is so handy!)
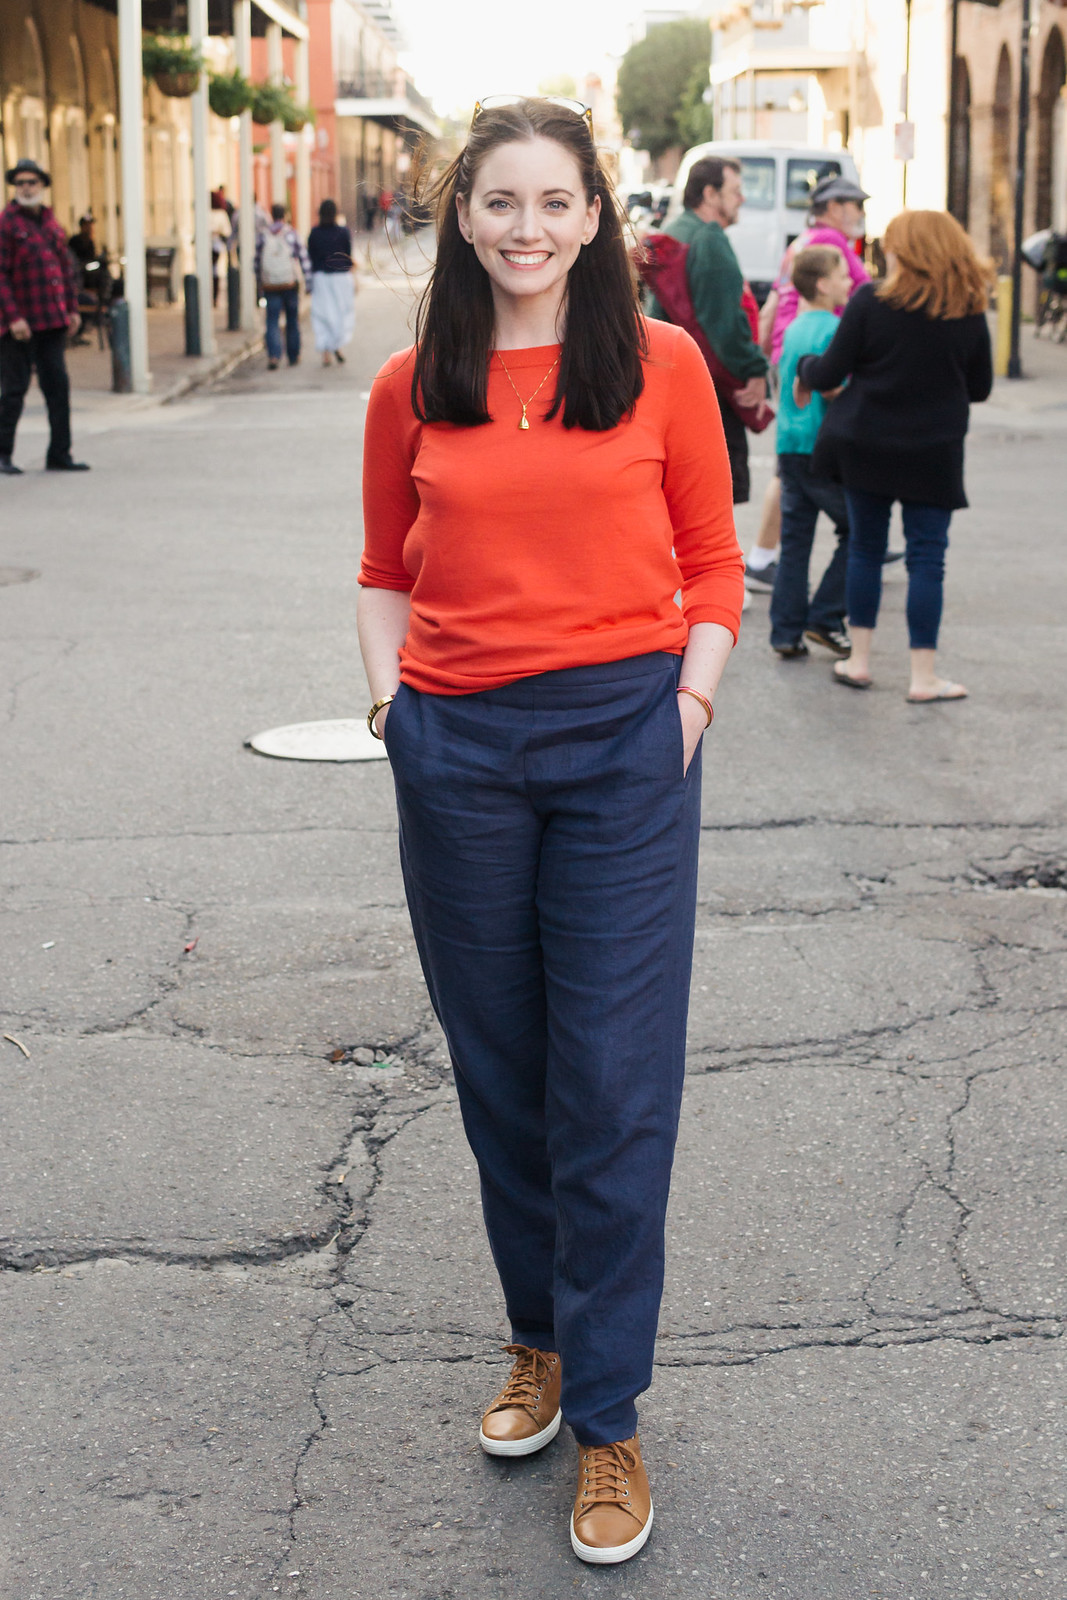
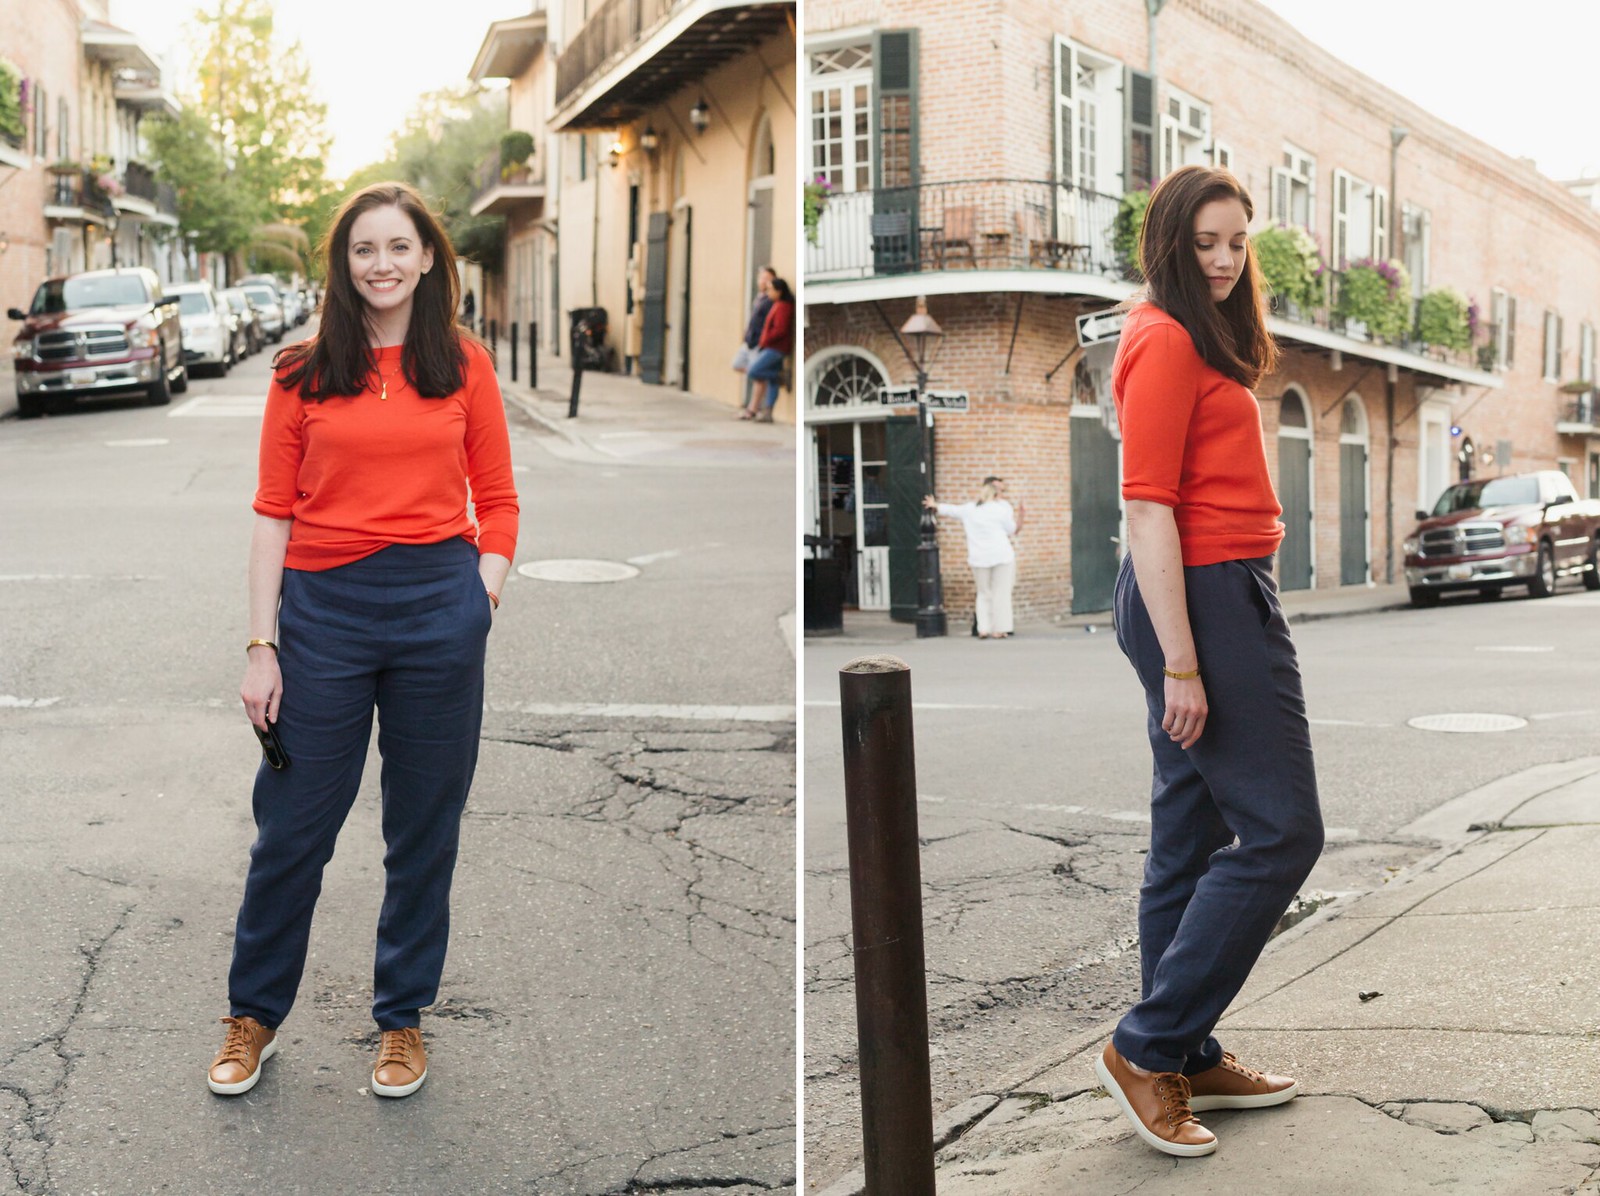
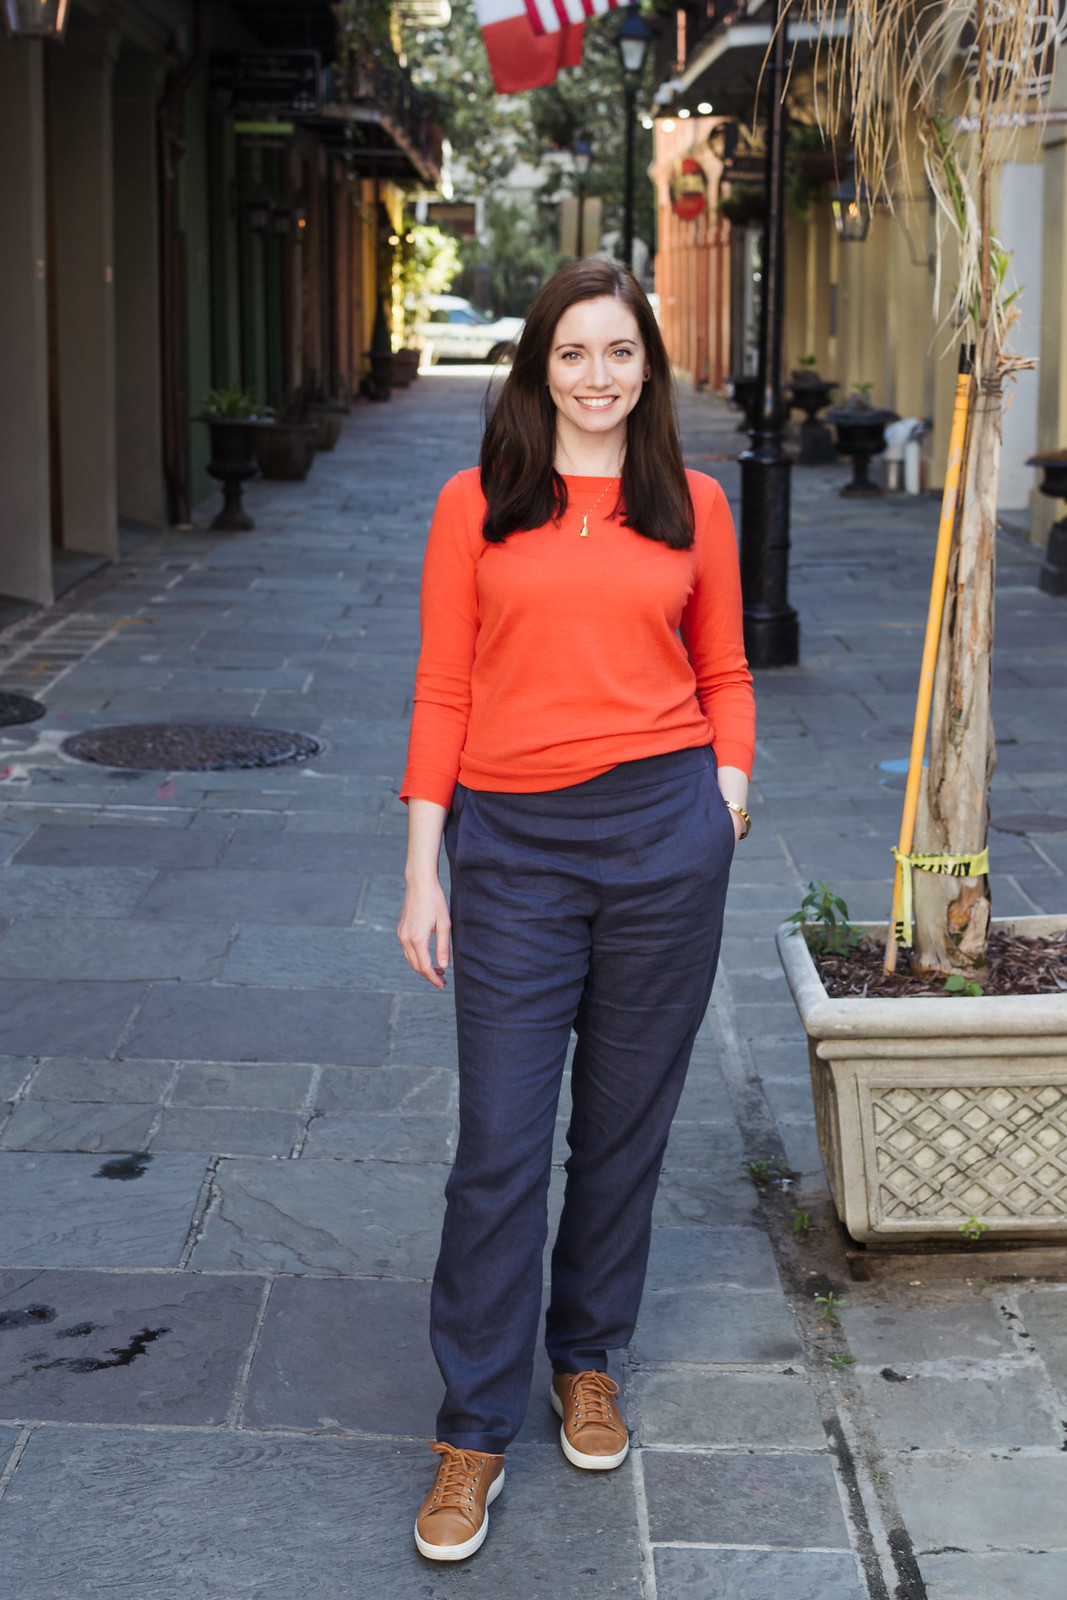
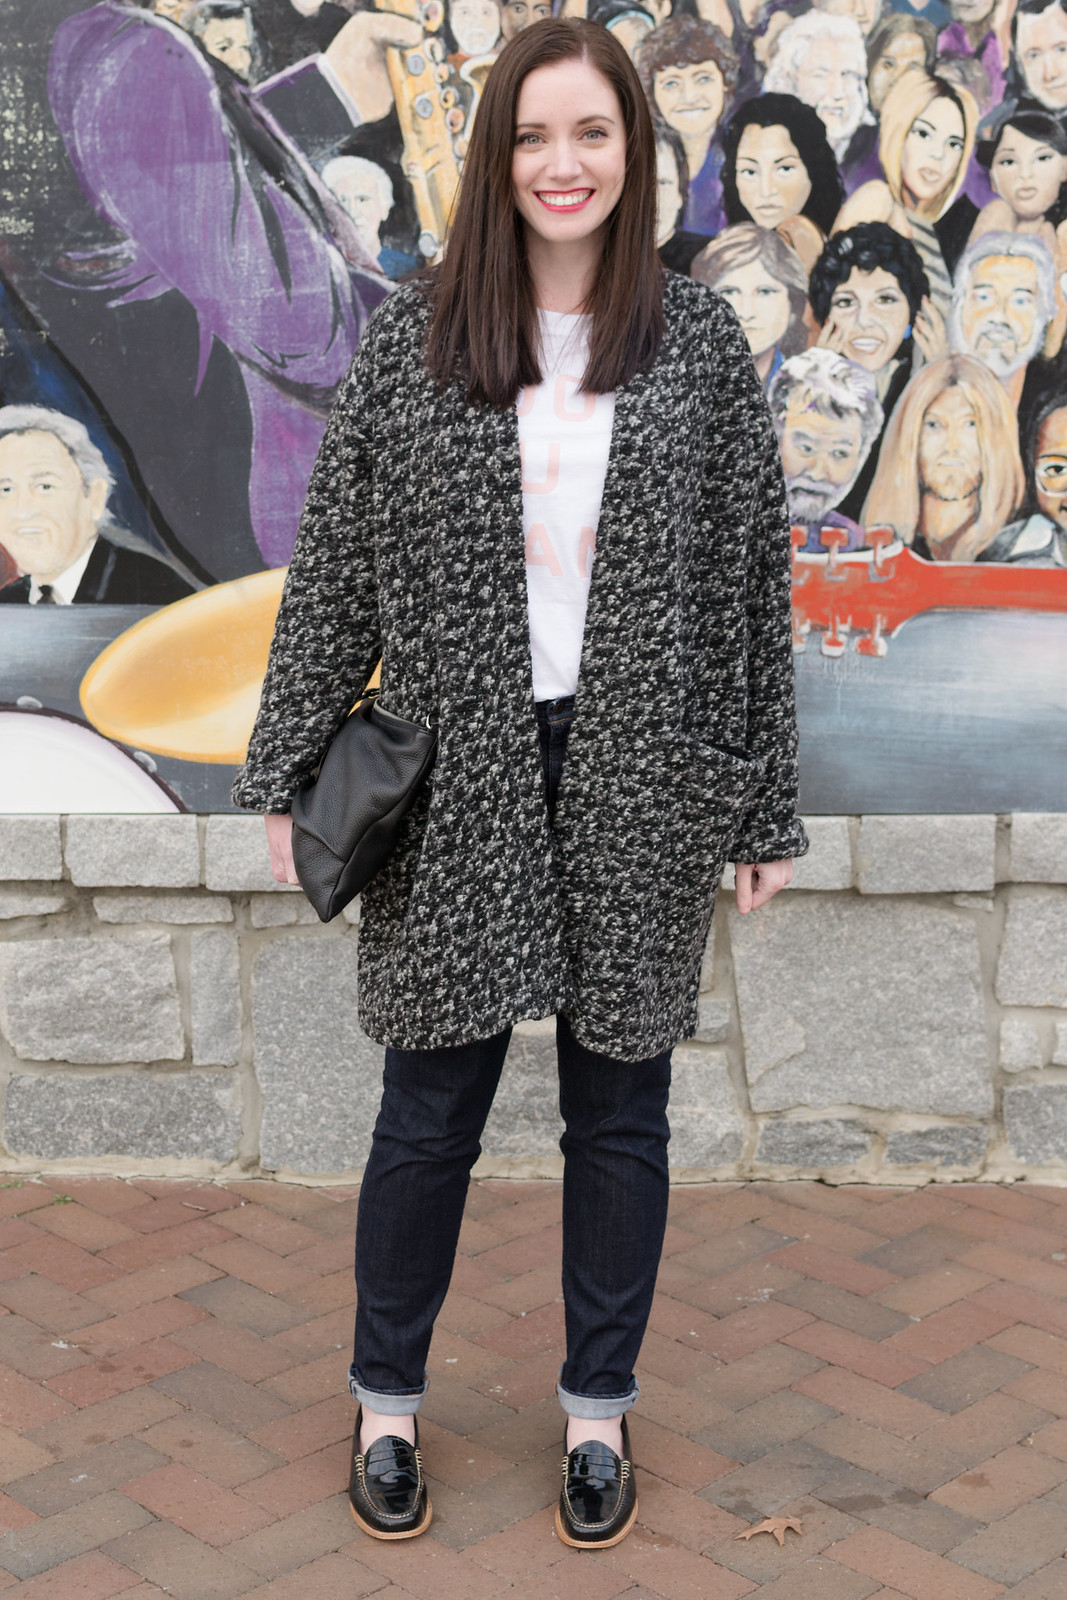
Sweater: J.Crew* │ Trousers: Pattern: French Navy Calyers (c/o), Fabric: Navy Linen Suiting from Jo-Ann │ Necklace: J.Crew* │ Bracelet: J.Crew* │ Sunglasses: Ray-Ban* │ Shoes: Ecco*
When I first started planning a sewing queue for our trip to New Orleans, I knew I would want linen pants. You may have noticed I'm just a touch fair skinned and at some point during the trip, it would be likely that a bit of extra sun protection would be essential. As it turned out, that wasn't the case for this trip, but after it rained for an entire day, the next morning was surprisingly chilly by comparison, so the length still came in handy.
The trouble was, I've never sewn pants, save for a couple of leggings, and the thought of fitting them concerned me, so I knew it wasn't likely I would actually tackle them. That is, until Sarah released The Calyer Pants pattern that'd I'd been eyeing on her Instagram feed for months! It was finally time to get over my apprehension and make a pair of trousers! I knew I would be in great hands with Sarah and the elastic back of the waistband would mean I could get away with a less than perfect fit.
-----
The Pattern
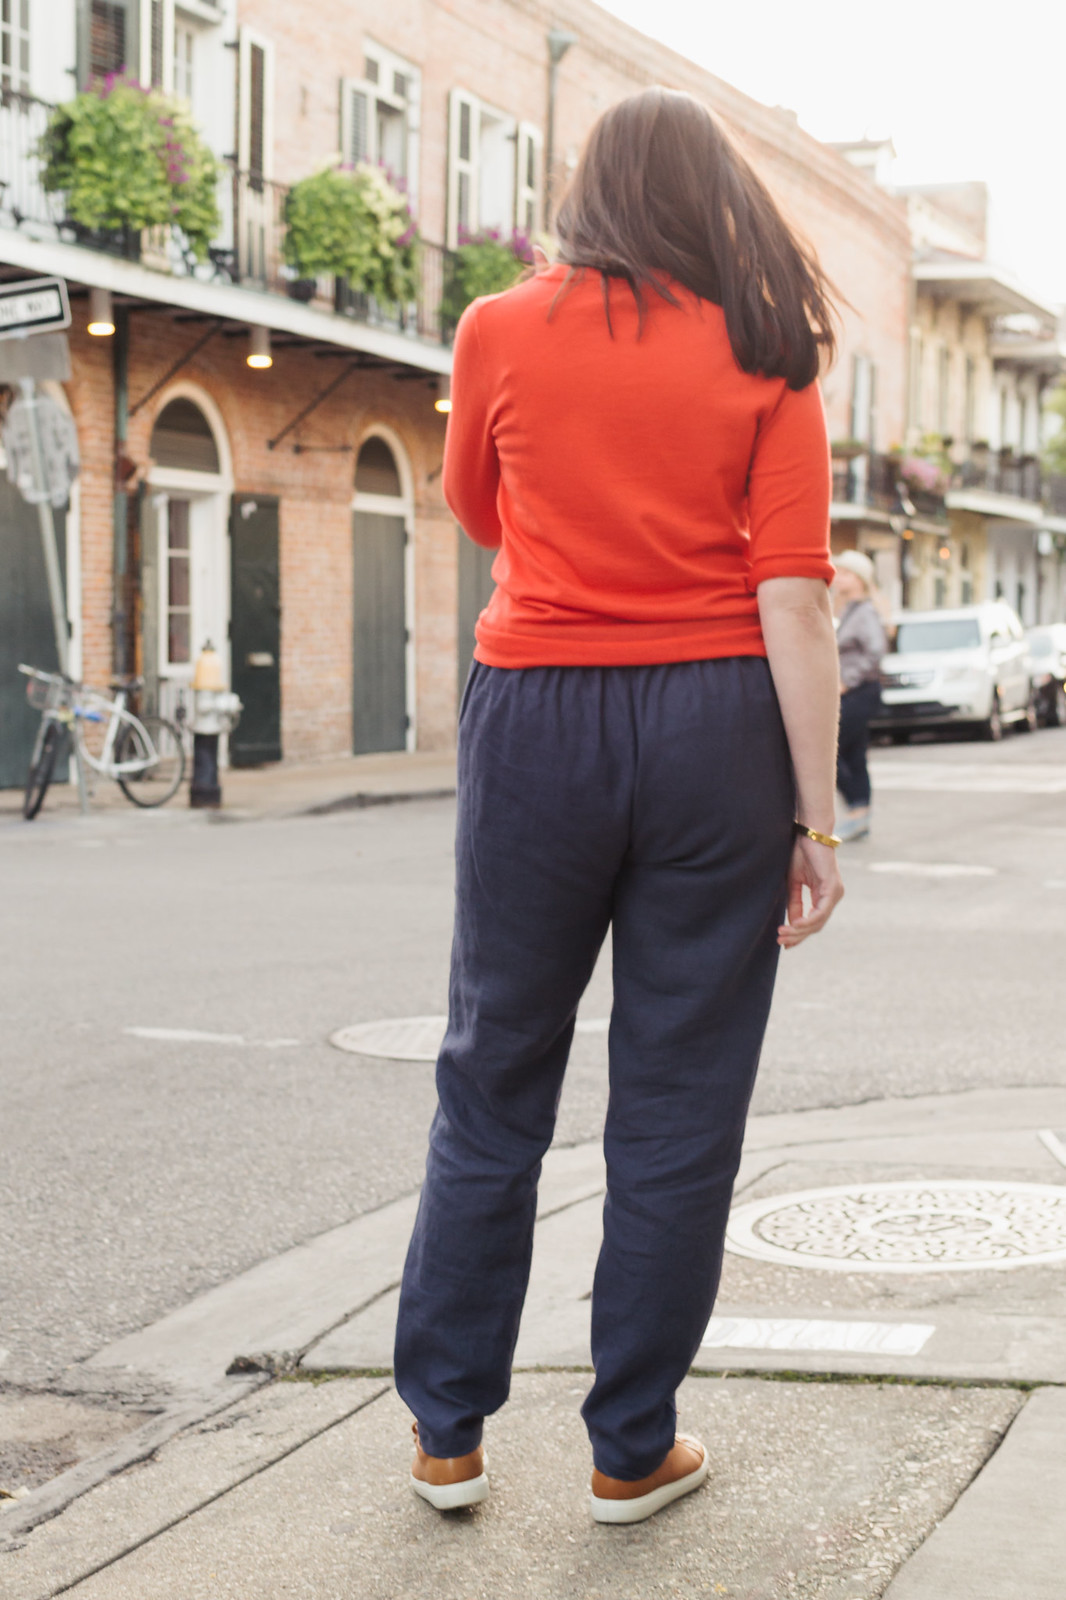
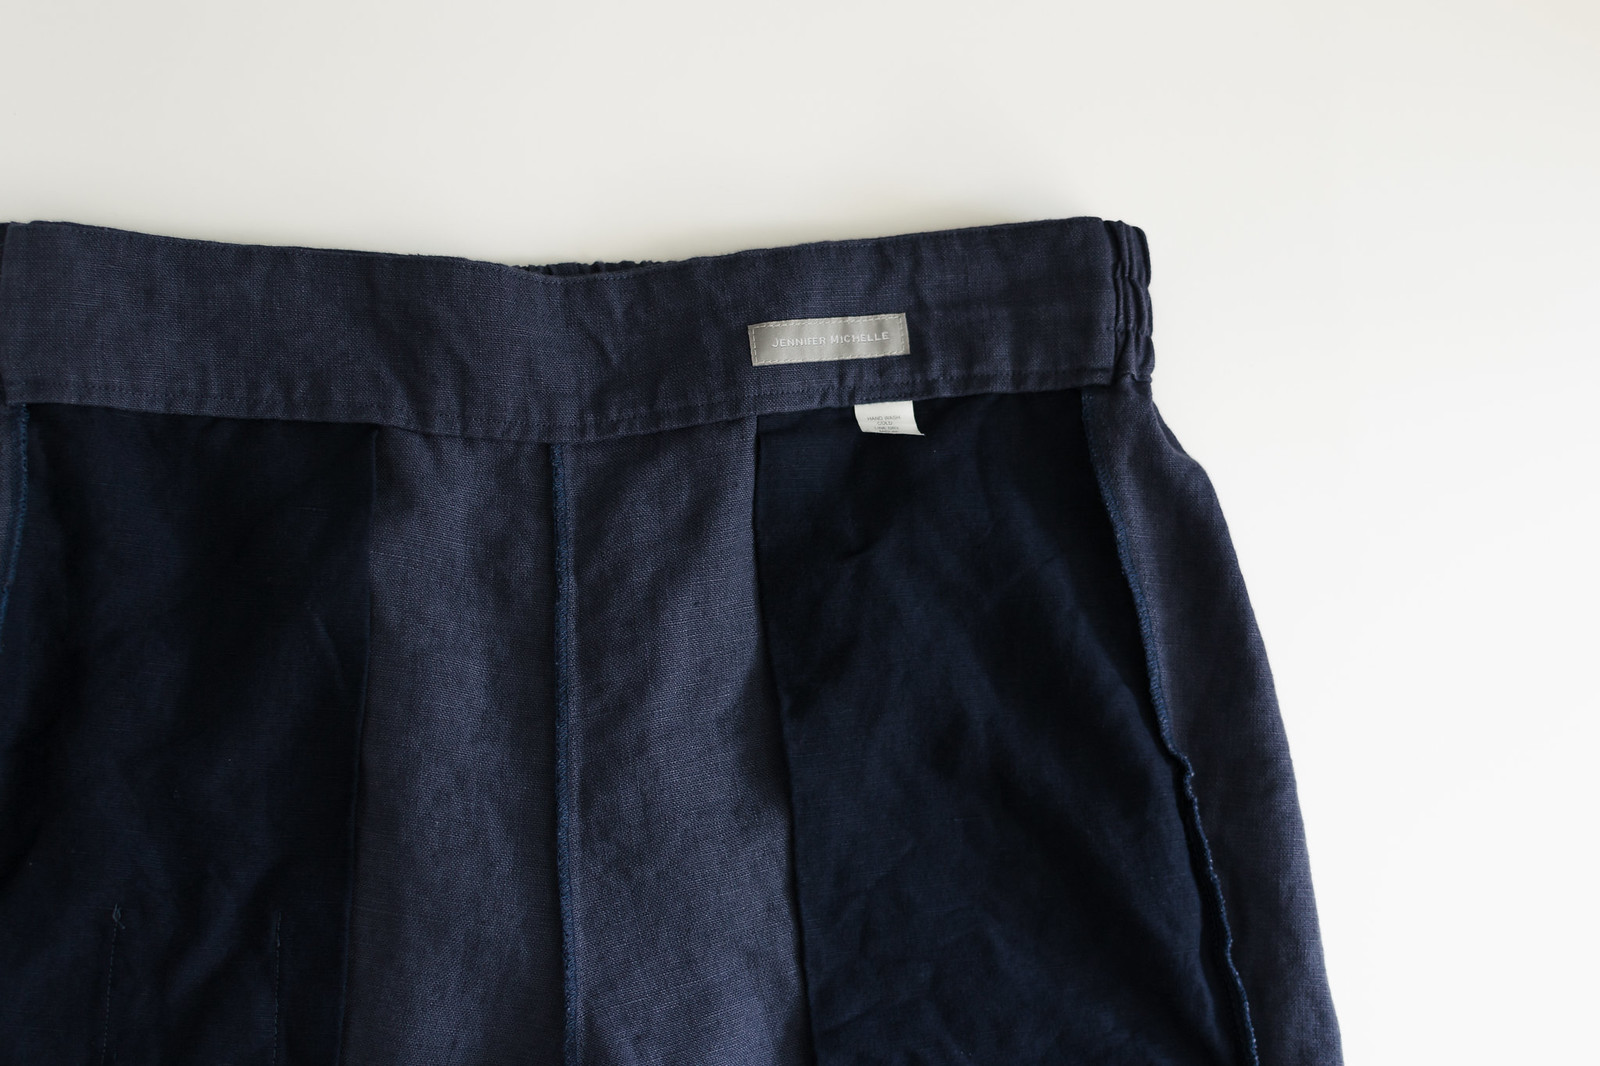
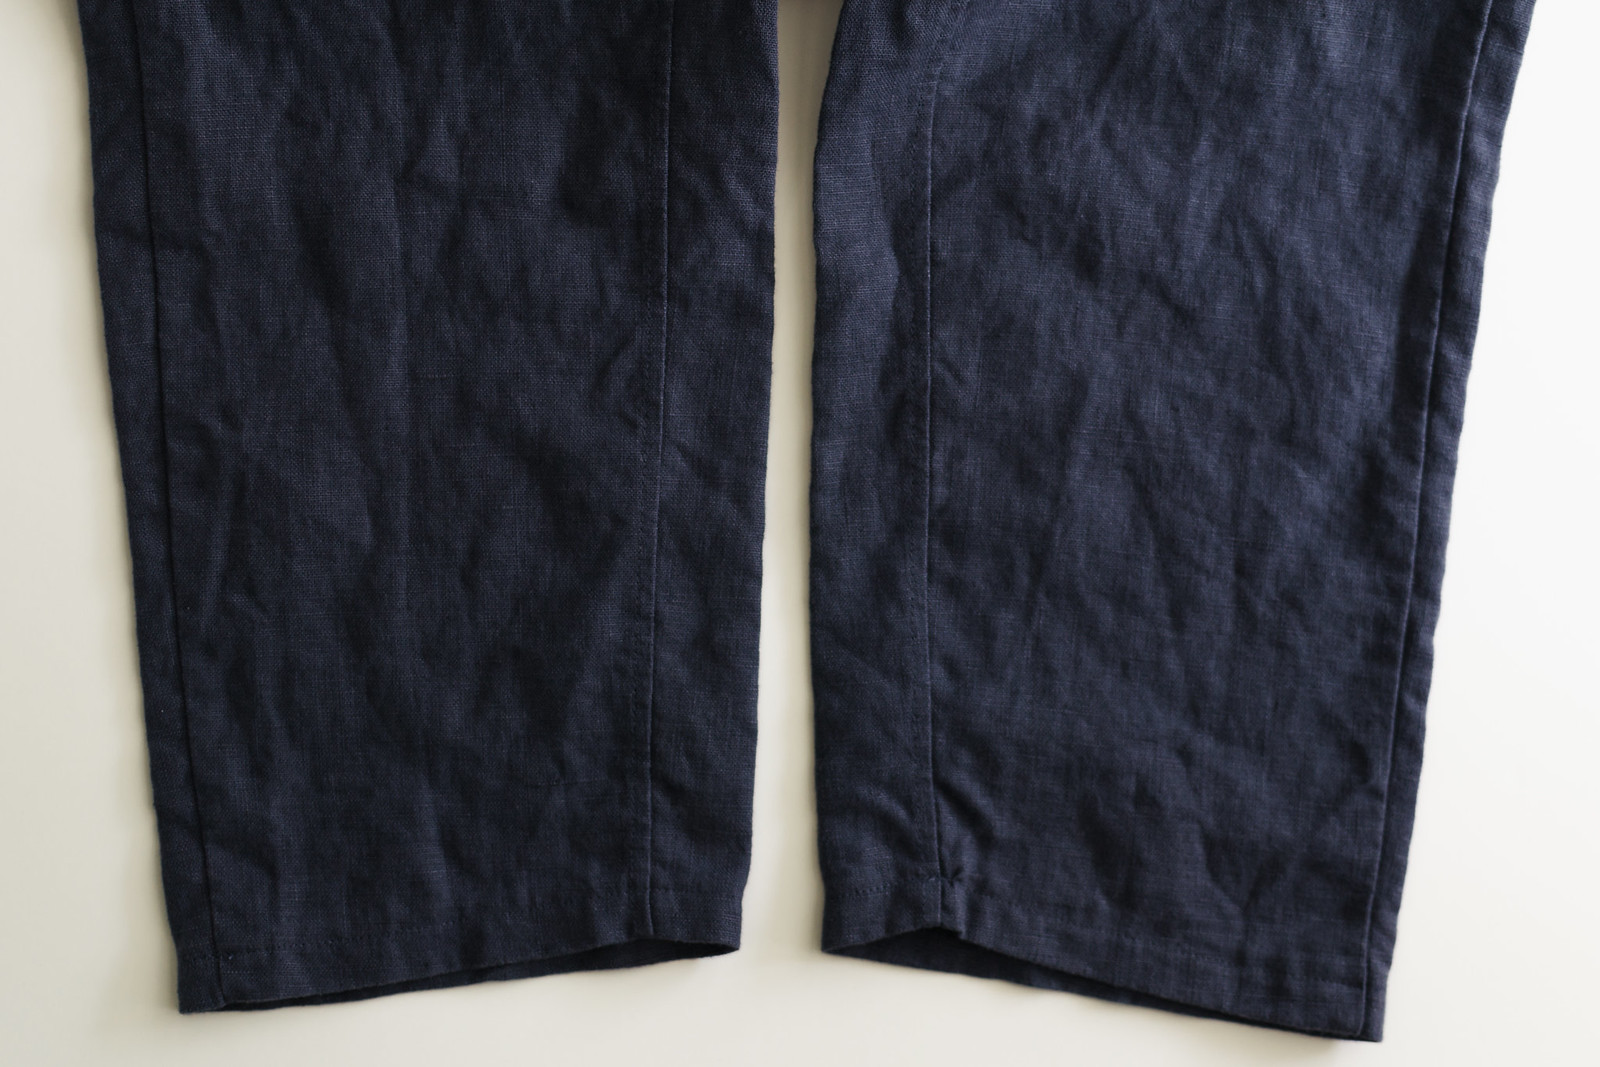
For those who haven't seen, The Calyers is a modern trousers pattern with two views to suit many body types. I chose View A, the flat front option, but there's also a pleated-front view. Both views have a comfortable and forgiving elasticated back. The pants are simple enough to put together (though perhaps not quite beginner friendly), but I love that there are a few clever little bits of construction that keep things interesting. The waistband and the French-hemmed, in seam pockets are both great details, as are the forward offset of the side seam and the subtle shaping at the hem. And the instructions were really easy to follow. Admittedly, there was actually a moment when I was nearing the end that I thought I'd mucked up the waistband, but it all came together really nicely and looks so tidy on the inside!
(I can't speak to the pdf assembly because my fiancé printed the copyshop version for me, but the pattern itself went together well.)
-----
Fit + Tweaks
To be fair, I would call this pair a wearable muslin. I used a nice, medium weight linen from Jo-Ann and, as linen is apt to do, it broke in almost immediately. It's gloriously comfortable, but the pants immediately felt a bit too big, indicating I should have gone down a size before cutting it. I knew this, I just chickened out. Better too loose than too tight, right?
And I made a second mistake. You see, when you're long-legged as I am and you spent your formative years being teased for wearing pants that were too short, you tend to err on the side of caution. And, to be fair, I don't think the length is as bad as it seems. When I sit down, I find I tend to pick up the legs, raising the knee to make it more comfortable to bend my leg. This most likely means I added too much above the knee and should have split what I added above and below. Plus, you know, the fabric sags a little so I could have gotten away with a little less length in general. Ah well. Cuffed pants are on trend right now, so to make the length more comfortable, I embrace the trend and cuff them a little above the ankle.
- I selected a size XXL, based on where my hips fell on the size chart. I thought with an elastic back, it would be best to go with my (larger) hap measurement and compensate for my waist using the elastic. This meant I'd have plenty of room for my bum and would be able to get the waist over my hips without trouble. I'm sure my fellow pears know what I'm talking about :P
- I added 3" to the length at the l/s line since the pattern is drafted for 5'6" (and I'm 5'10"). As mentioned above, I'll need to redistribute, and possibly reduce, this on my next pair. Totally my fault - I know better than to add more than 1.5" in any one place.
- I added ~2 1/8" to the pocket depth to account for my longer arms and 1" to the pocket width. I'm finally totally on board with pockets these days, so long as they're functional pockets! Don't you agree?
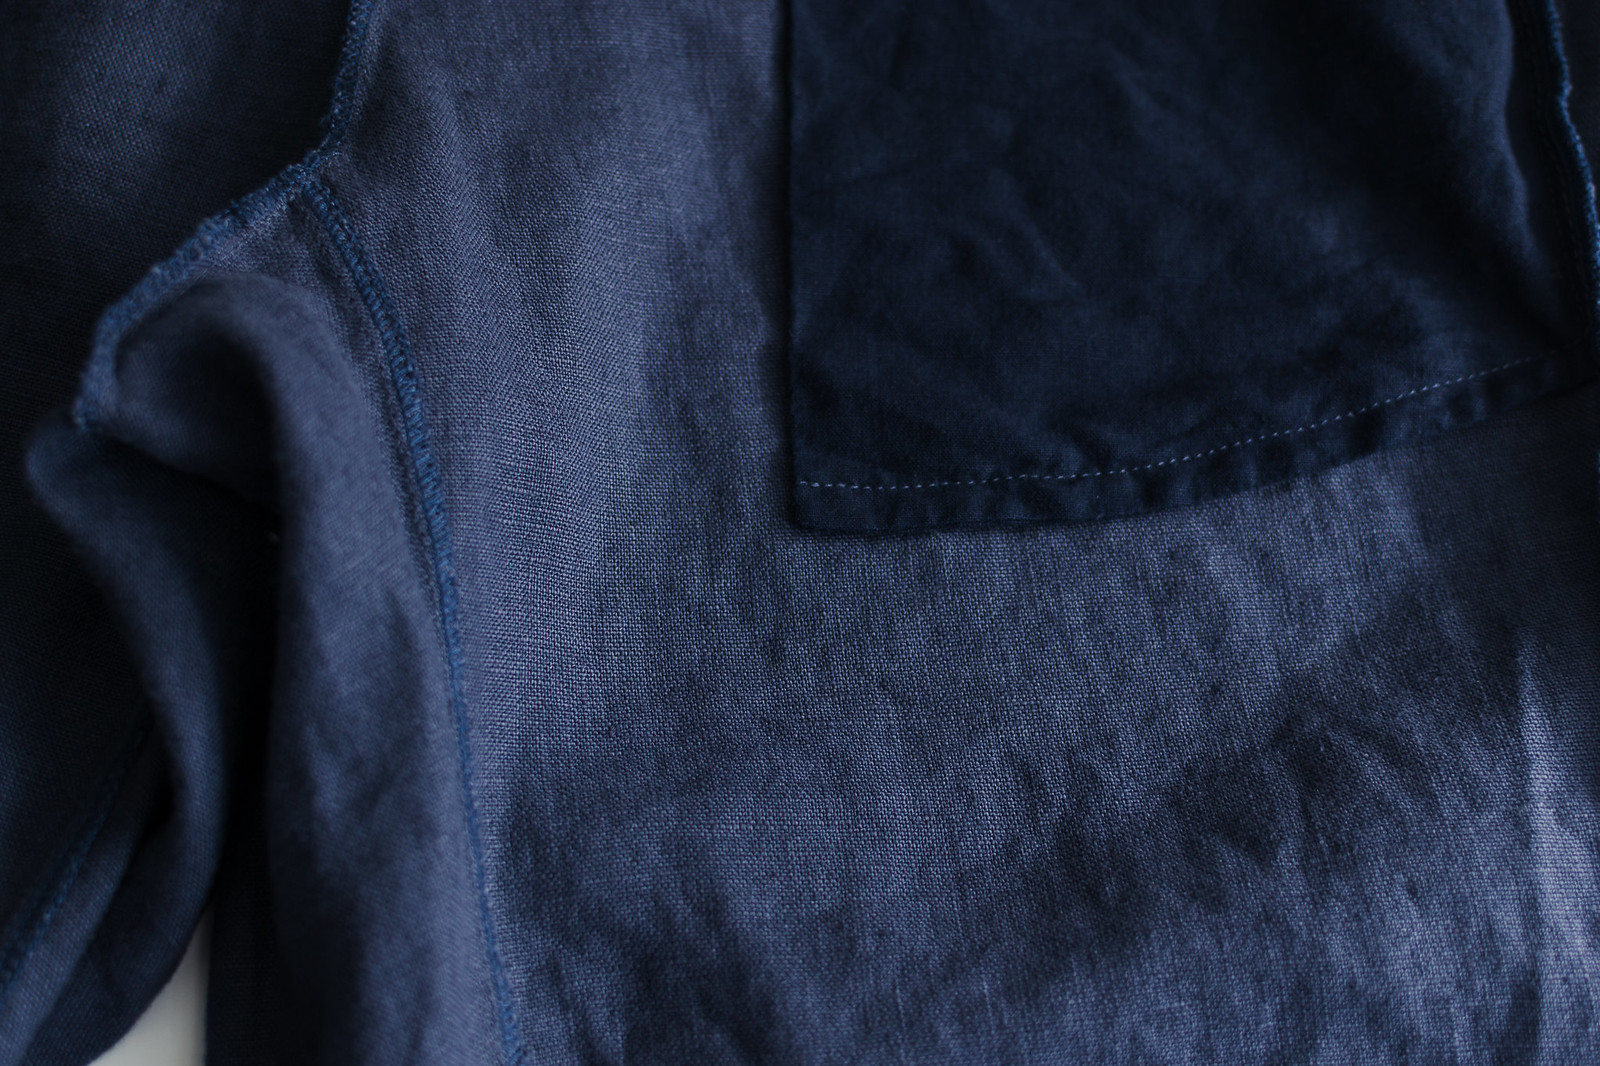
- I also added a key pocket to the inside of one, just like I did on my Forsythe dress, which is so convenient when I'm out walking our pup without a handbag.
- I cut the pocket bags (and key pocket) from a thinner linen I had in my scrap stash to keep the garment light and comfortable (hoarding justified, haha!). Unfortunately, it's a little darker than the main fabric and shows slightly once the outer linen relaxes, despite understitching and topstitching. (Steps which are included in the pattern, by the way. I love when instructions include that!)
-----
The Fabric (+ Notions)
So, I know Jo-ann isn't exactly known for having high quality apparel fabric, but there are definitely exceptions and I think this is one of them. I used their navy linen suiting for these pants and it just feels so nice! It's much more substantial than their other linens (at least twice as much as their popular linen/rayon blend) and it gets that lovely rumpled look that I was craving in a linen. Don't let the stiff, polished look on the bolt fool! After a trip or two through the wash and dryer, it softens up so nicely and it was very easy to work with.
- ~2 yards navy linen suiting + a scrap of lightweight linen
- Pro-sheer elegance medium fusible interfacing
- Dritz 2" Soft Waistband elastic
- Gutermann + Maxi-Lock threads
- Are these details helpful at all? I always take note of what materials I've used and even my machine settings for every project, but I don't want to bore you if these things aren't useful to you.
-----
Have you made The Calyers yet? Every version I've seen has looked great and I'd love for you to share yours!
Subtle hem shaping
This post contains affiliate links. Please see my disclosure for more information.
French Navy sent me a complimentary copy of this pattern without requirement of a review or post of any kind. All of my opinions, as always, are my own.





Excellent pants and review and pics!
ReplyDeleteAww thanks, Emily! xo
DeleteI LOVE details, personally! It's my main reason for preferring blogs to Instagram. It was also great to see these on a pear figure (ahem, repping the same part of the fruit bowl over here) - I've been tempted to buy this pattern for a while but in the photos Sarah has a sparer frame and I just wasn't sure it would work. They look great though! Very comfy and summery and I bet they go with everything!
ReplyDeleteHi, Lia!! I’m so glad you find the details useful! I agree with you - I love Instagram, but I still prefer to read blogs for the extra information. Haha, I know what you mean! I’m always looking for reviews from other pears. Maybe we need a hashtag on Instagram so we can find each other’s blogs more easily?
DeleteThanks so much!! :) I hope you give them a shot and love them too!
It was additionally incredible to see these on a pear figure. I've been enticed to purchase this example for some time yet in the photographs, Sarah has a sparer edge and I simply didn't know it would work. They look incredible however! Extremely comfortable and summery. Cocktail Dresses for Elderly Women
ReplyDeleteThank you! I'm so glad you found my photos helpful! That's why I love sharing photos and reviews - it can be so helpful to see a pattern on a variety of figures and read the experiences of those at different sewing levels. And in case you haven't made them already (apologies for my delayed reply), I still highly recommend the pattern! Exactly as you said, comfortable and summery!
ReplyDelete