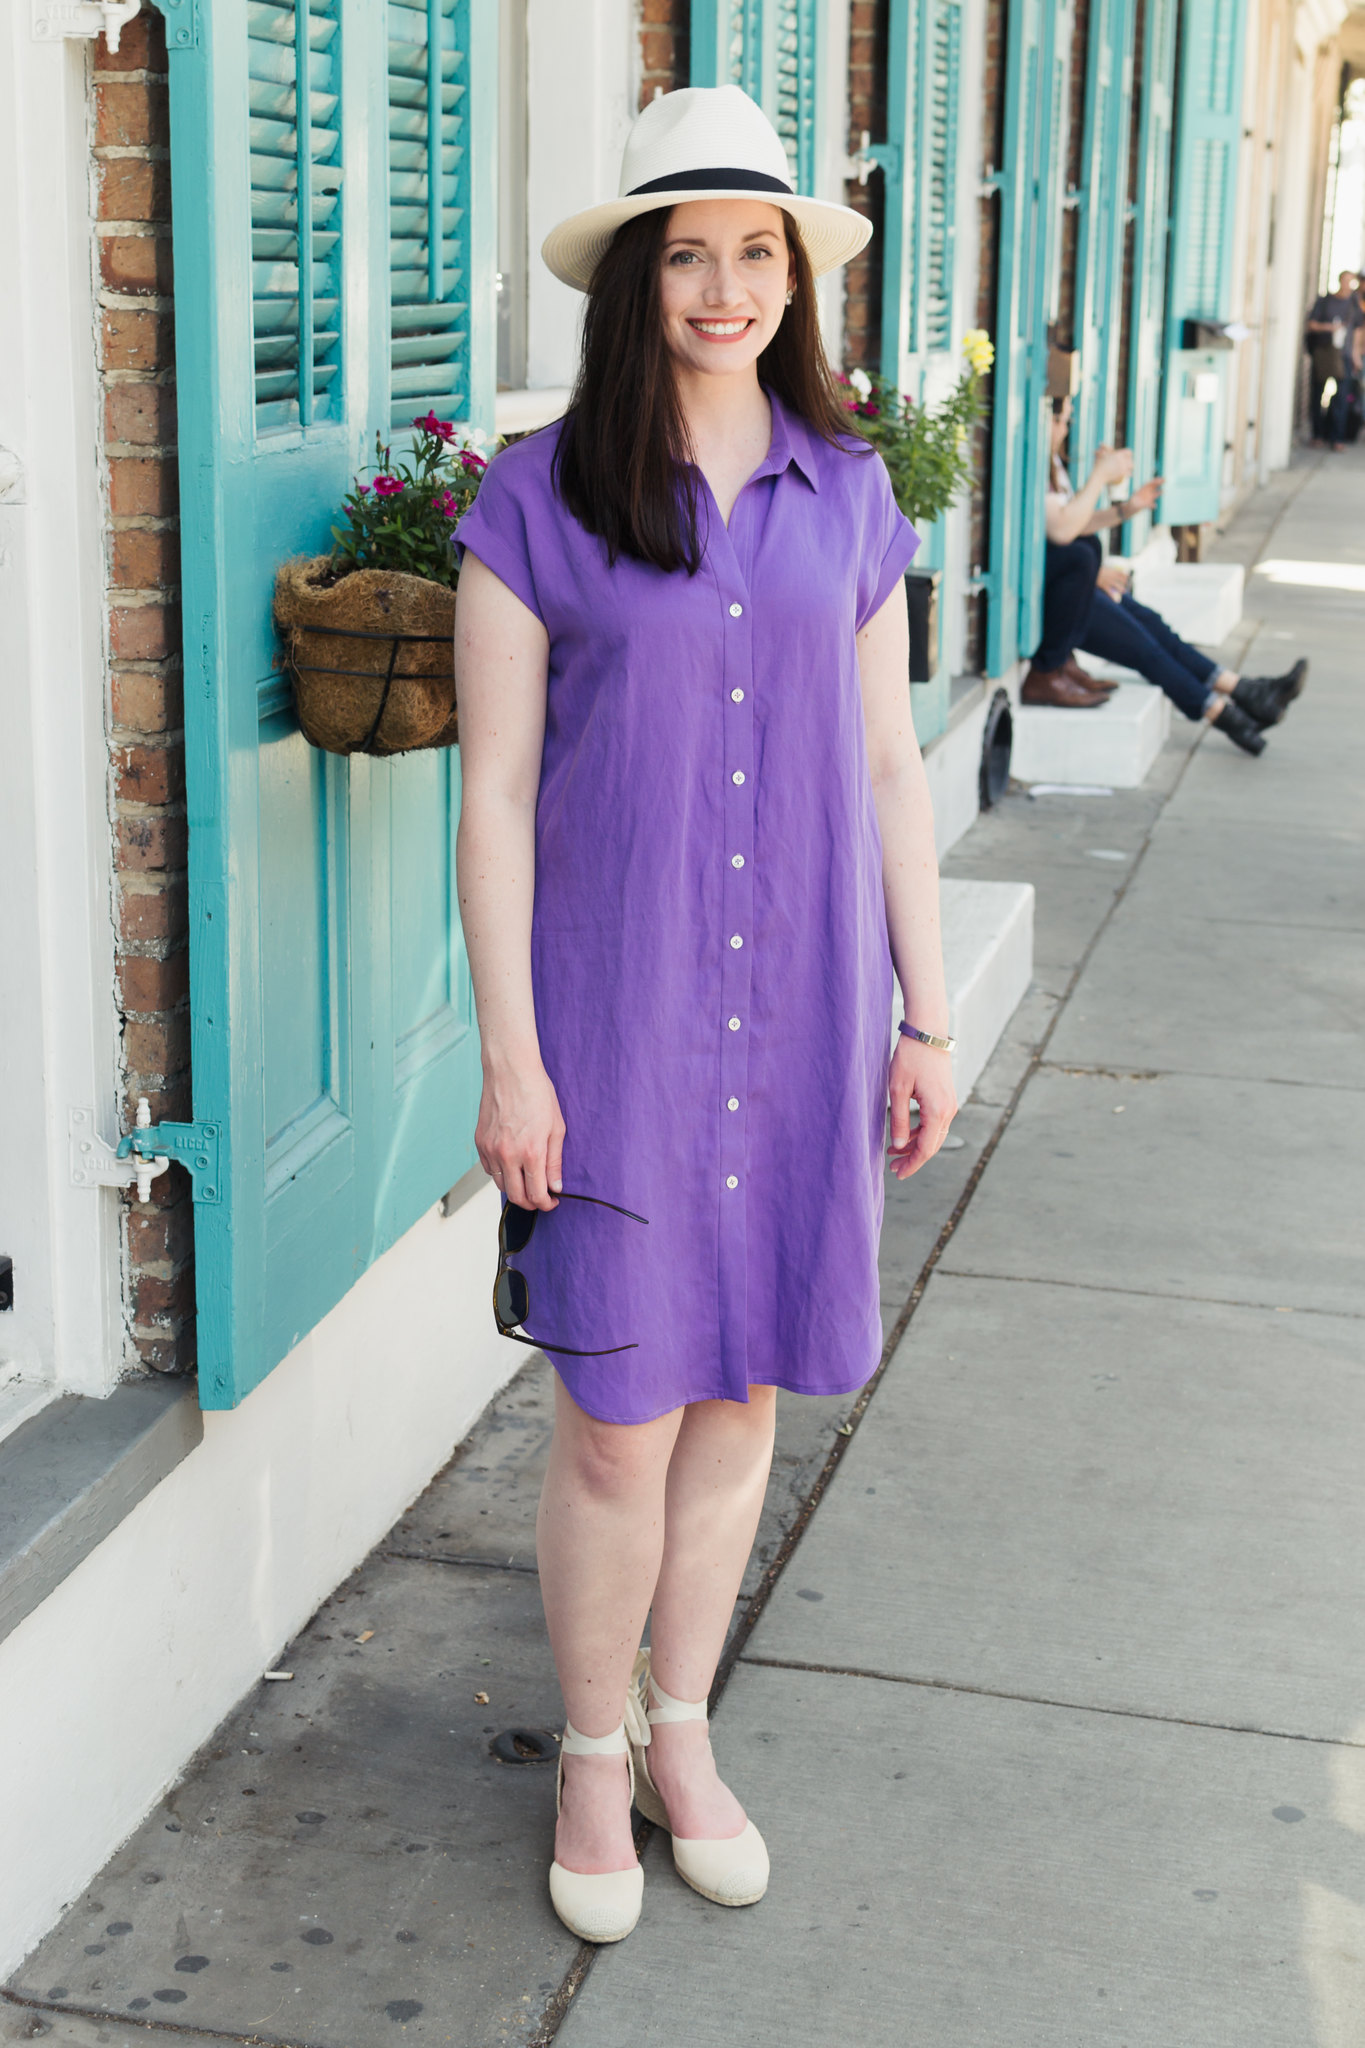
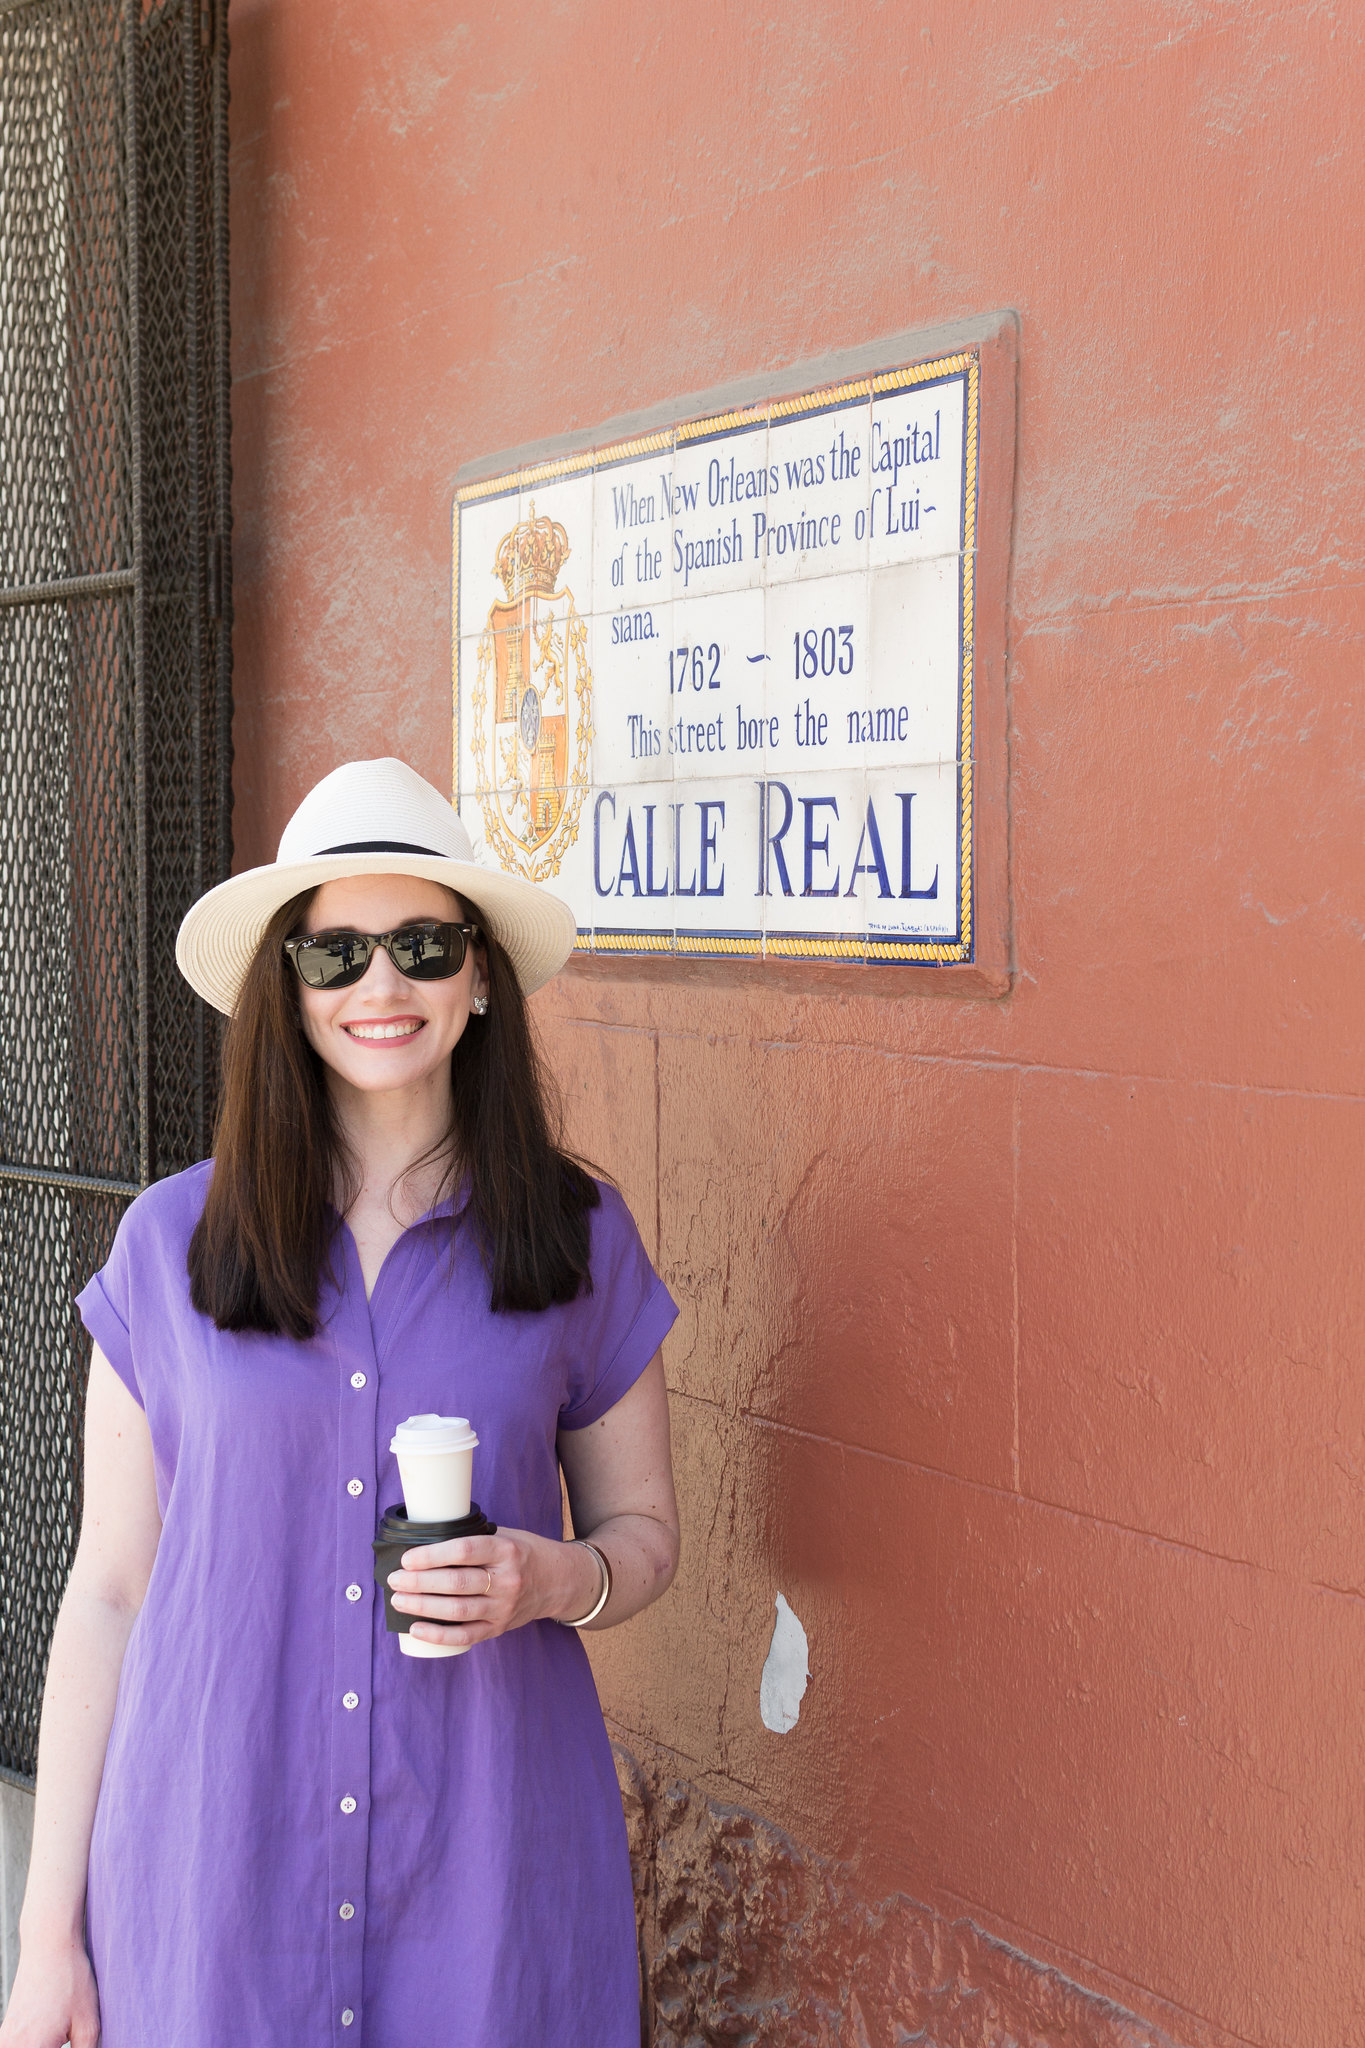
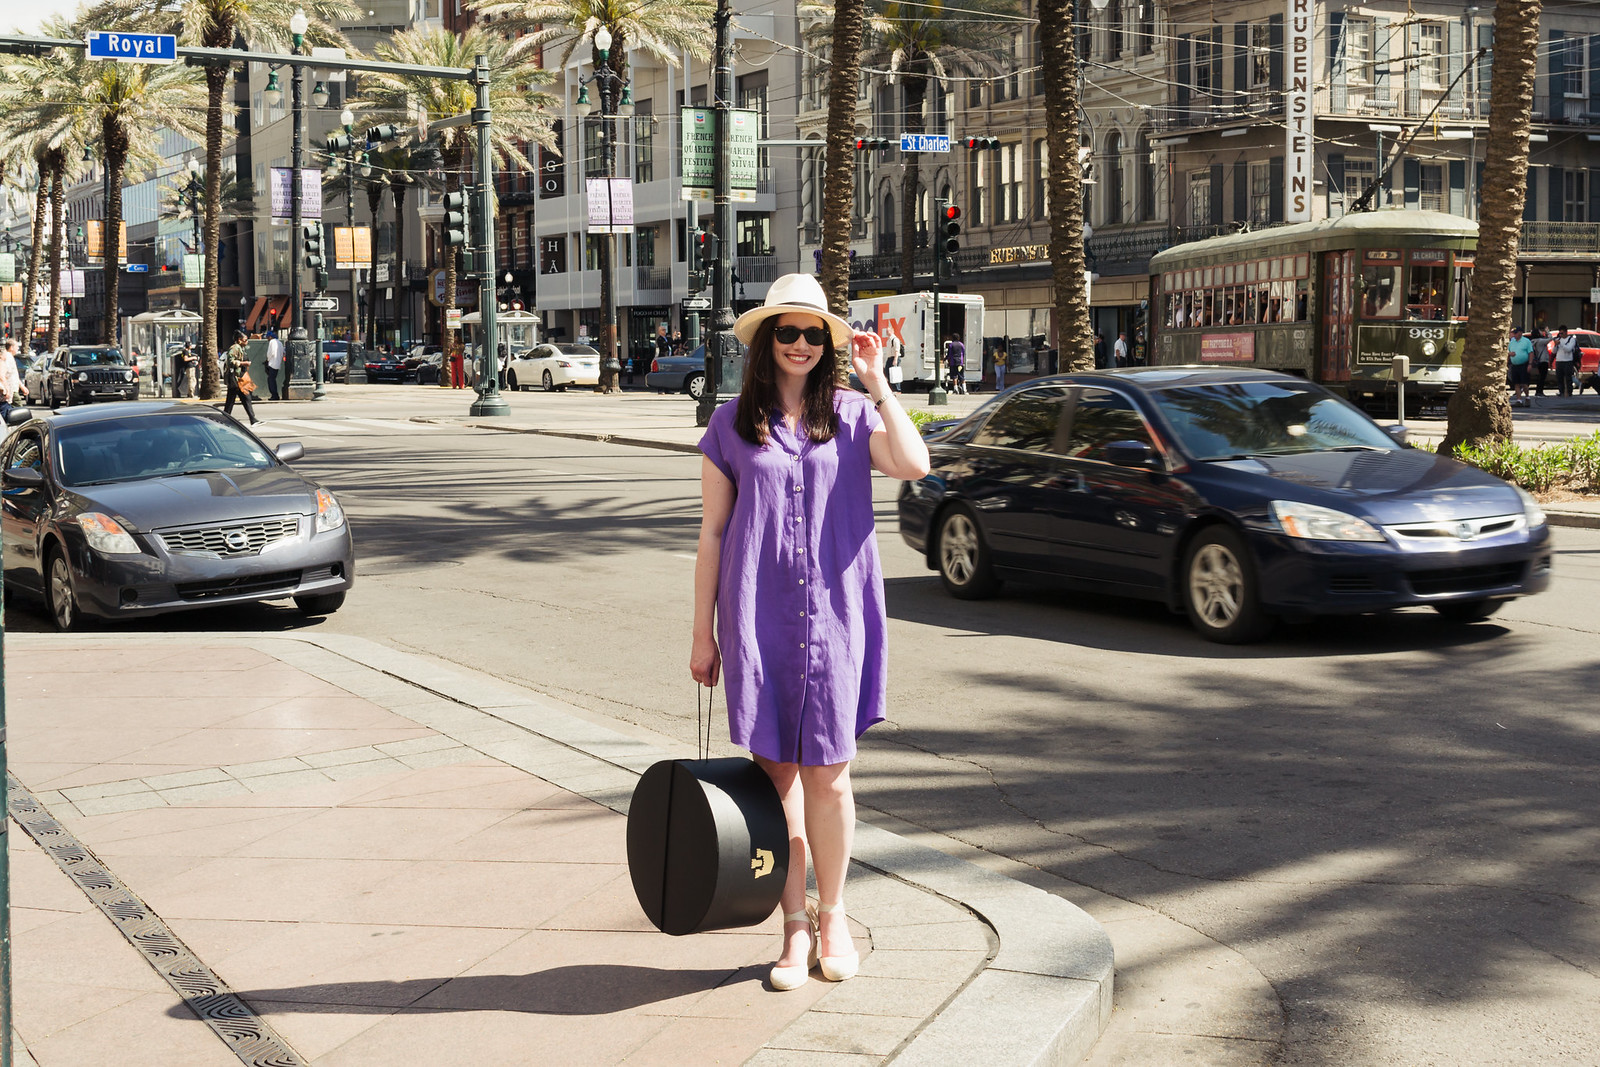
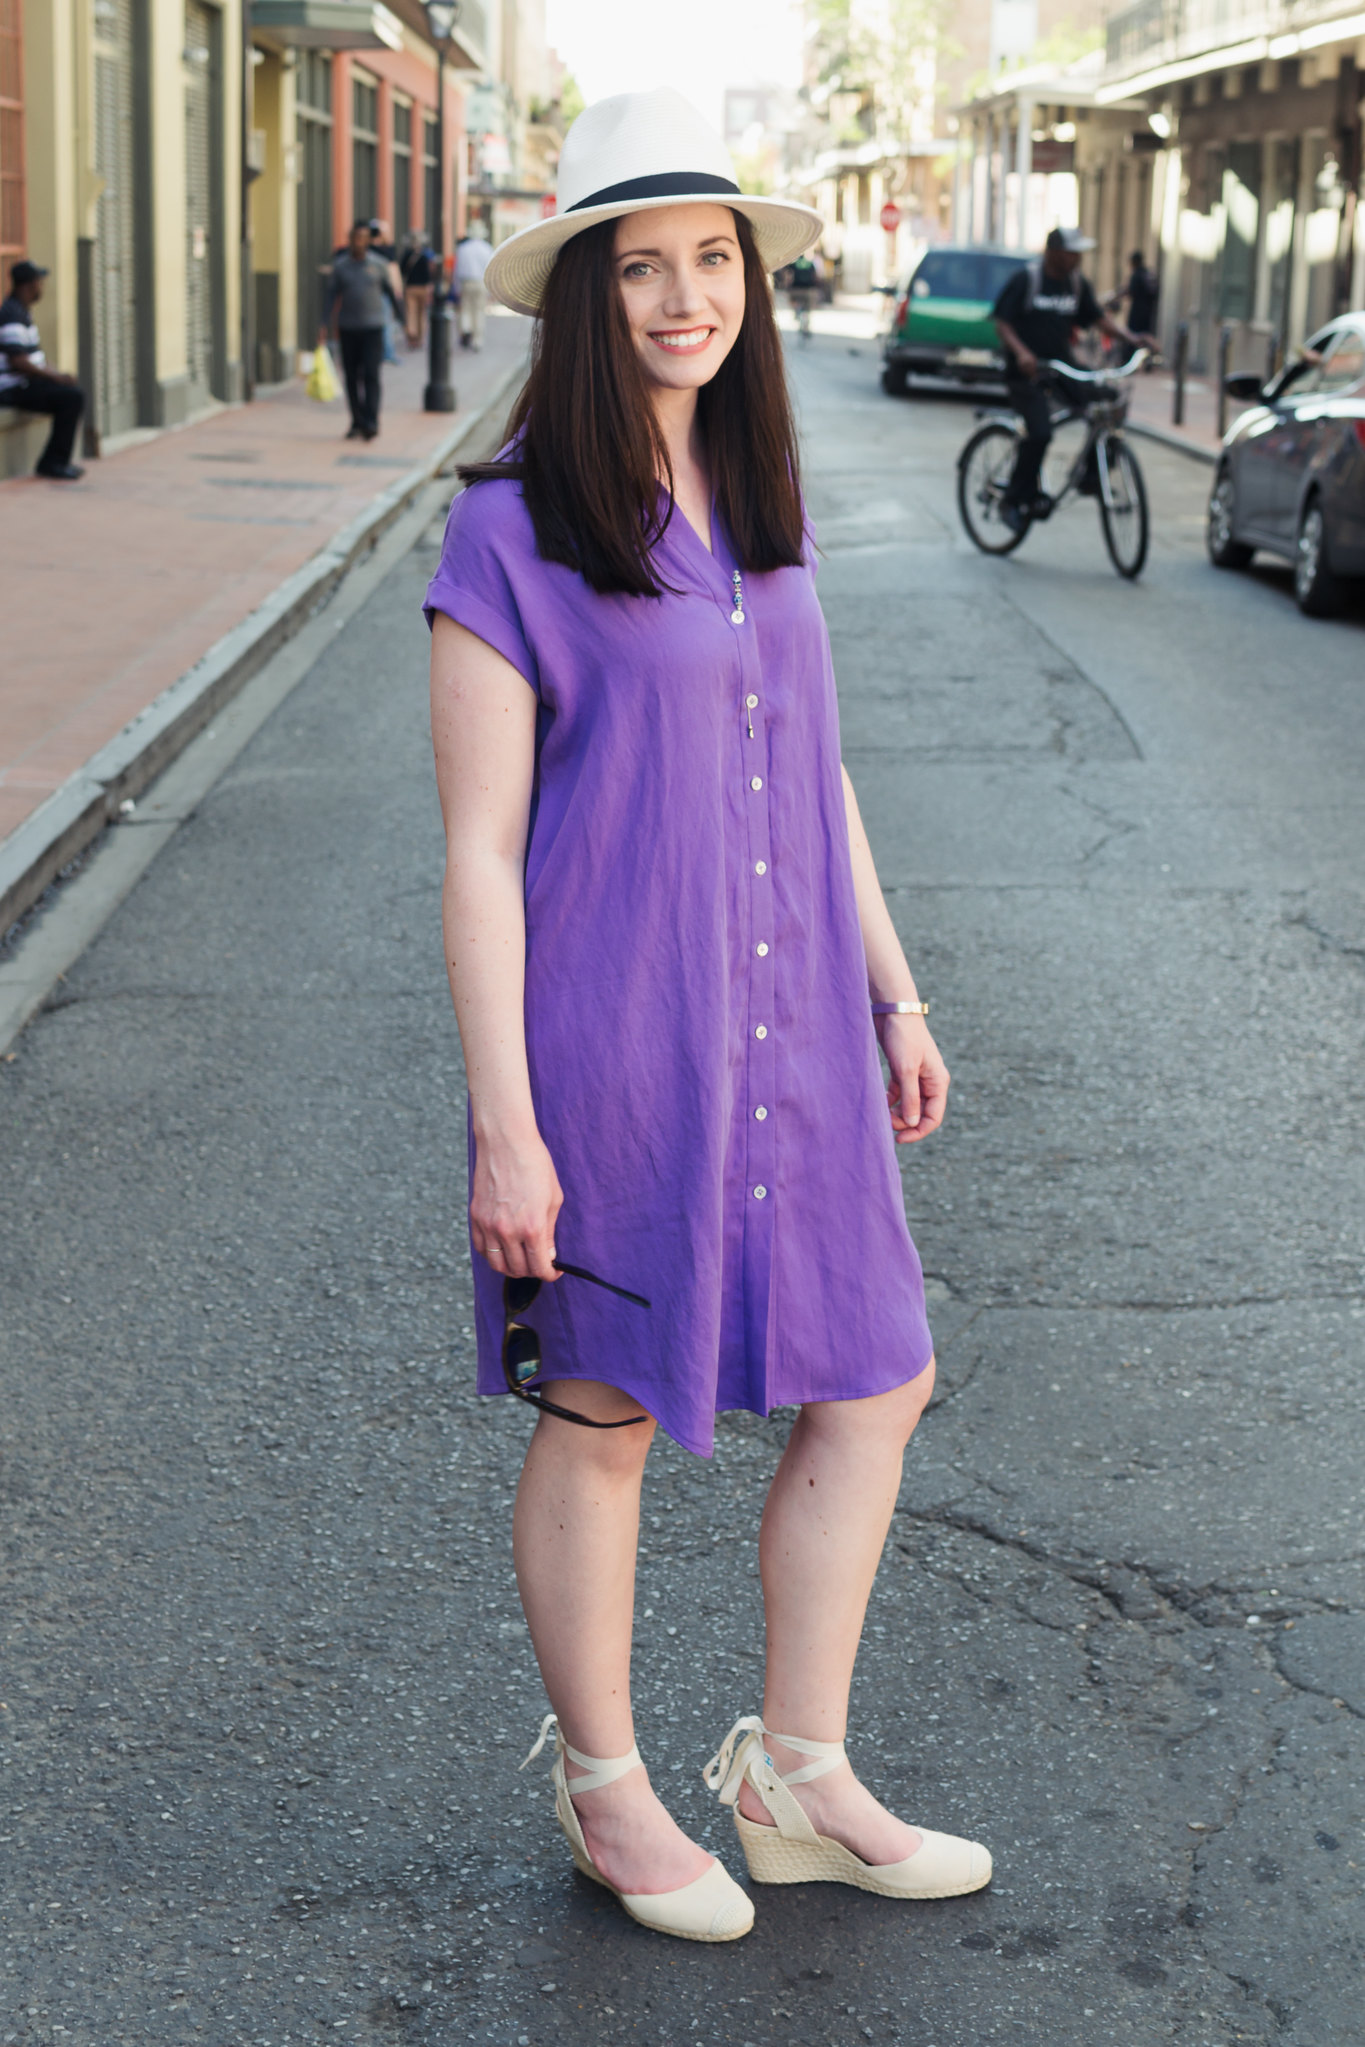
Dress: Fabric: Nicole Miller Lyocell/linen from Jo-Ann Fabrics (sold out) Pattern: McCall's M7387 // Hat: LLBean // Sunglasses: Ray-Ban // Earrings: Target (old) // Bracelet: J.Crew // Shoes: Vionic // Hat Box: Goorin Bros // Hat Pin (haha, did you catch my accidental accessory, tucked in my button band?) Also, Goorin Bros FQ
Sometimes, I find writing a sewing blog to be such an interesting thing. They're part journal and part, hopefully helpful, community sharing. So typically, I like to get my reviews up as soon as possible after finishing a project so I can give the freshest, most thorough account of the construction possible. But, as we can all attest, sometimes life gets in the way and days, or weeks, roll by before I get anything typed. But, you know, there's something to be said for a delayed review too. It gives one time to really experience the finished product. To wear it, live in it. And that can really change an opinion of a garment. Such is the case with this dress.
I finished this one for our trip down to the New Orleans French Quarter Festival in April (side note: if you get the chance, I highly recommend attending!). Like many of us, I was determined to sew right up until the day before we left. And I only stopped then because I had to turn my beloved machine in for service! Of course, this left no time for blogging. (Though I did take plenty of notes to use when we returned.)
Instead, I brought the dress on the trip, wore it on our first day there, and fell in love.
It was completely outside my comfort zone - between it's very roomy fit, the back detail, and the bold purple, a color I hadn't worn in years! - yet it turned out to be the perfect vacation dress.
I know it's largely to do with the fabric so, if you ever come across Lyocell blended with a bit of linen, snatch it up! It's amazingly breathable, feels cool all day, soft with a lovely (but not clingy) drape, and has enough texture to make it casual without being too much so. (Mine is from Jo-Ann and was from 2016, so it's likely sold-out at all stores, but if I see another, I'll let you know!)
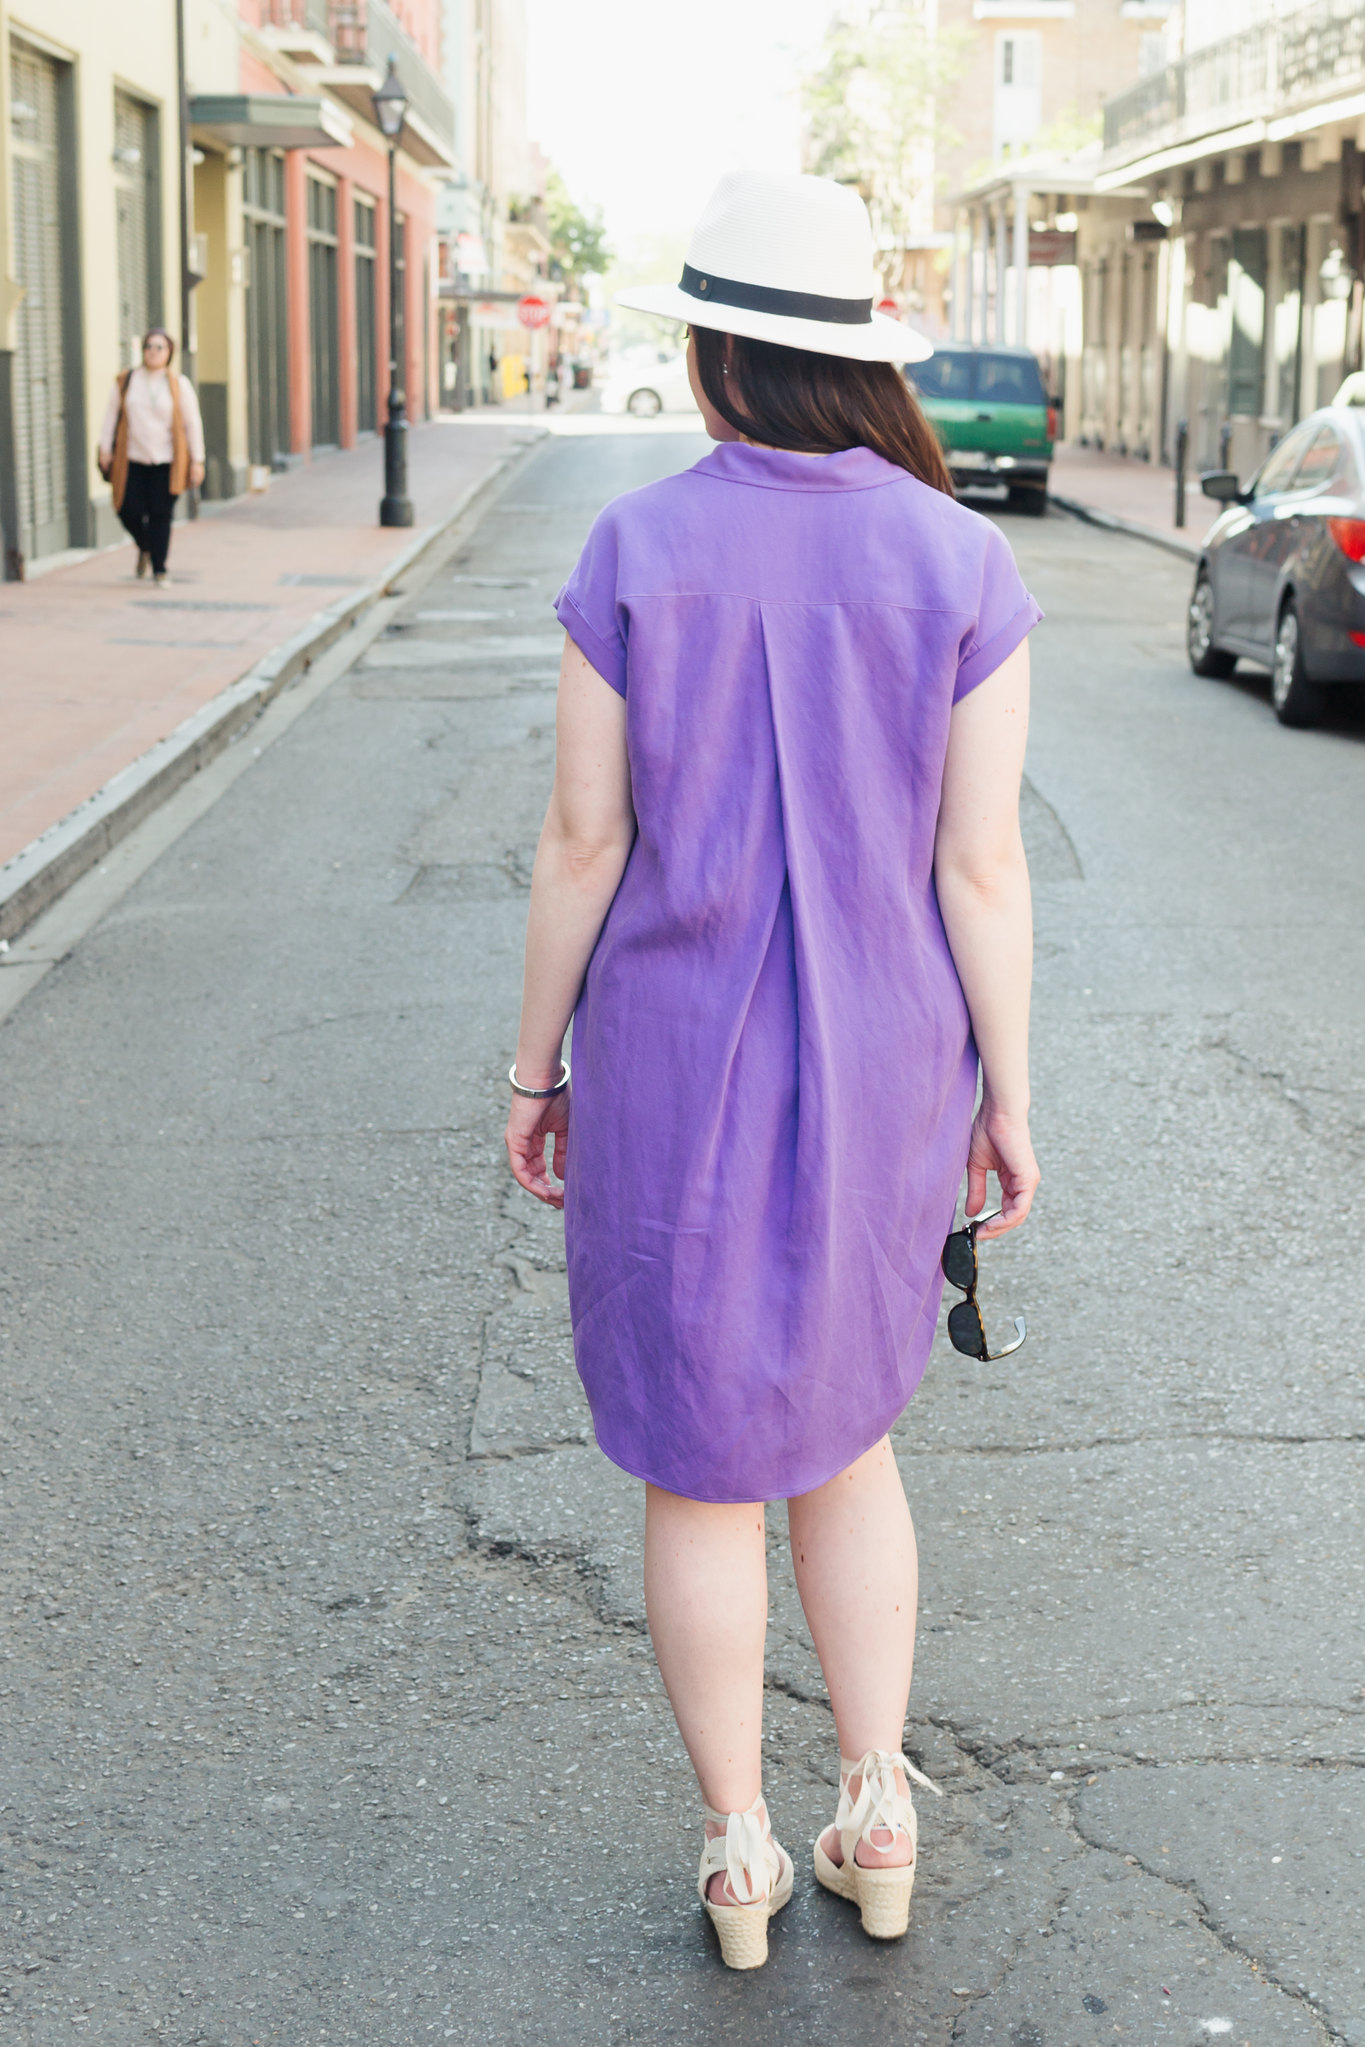
This was definitely a big fabric/pattern pairing win too. The fabric worked well for the shirt features - the collar, the placket, etc - yet was soft enough to keep the dress, with it's generous fit and voluminous back pleat, from overwhelming my shape. If you're not as "bottom-heavy" as I am, or just have more confidence, that might not be something you're concerned with. Actually, a more structured fabric adds an interesting, architectural element to the pleat. And I loved how it moved in the breeze as we toured the city. Never clingy, it just felt effortless. I'm not sure that makes sense haha. But, I loved it. It just really seemed to go with the laid back vibe of the trip, yet I didn't feel under (or over) dressed. I definitely need more dresses like that!
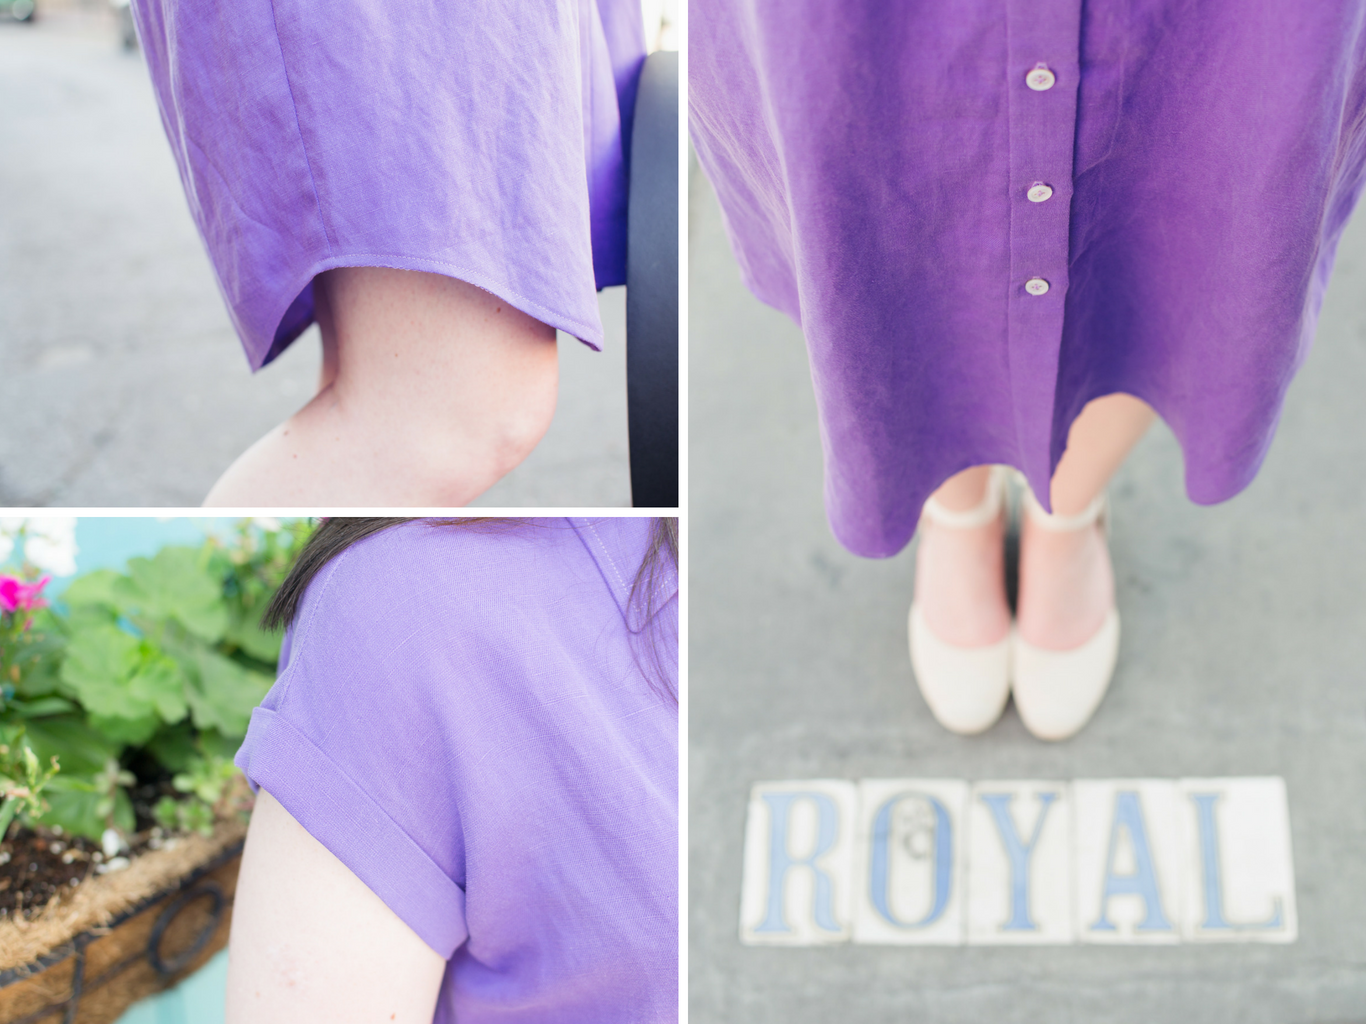
But, the fabric wasn't everything. The pattern itself also, obviously, was a huge part of what I loved. I really like the details of this one. The cut-on, cuffed sleeves are so cute and very "in" at the moment (and the shoulder coverage was helpful as we spent most of the day outdoors) and I thought the overlapping back pleat, rather than a typical box pleat, was so interesting. I did omit the concealed placket for this version (this was actually my second dress from this pattern - I haven't managed to get photos of my first yet) and I changed the combo stand and collar out for a traditional two piece collar, but both were rather easy tweaks. And let's be honest, this pattern is really about that back pleat. And I love that back pleat.
FIT NOTES & PATTERN TWEAKS:
- Used view C with view A's cuffs & a free-handed shirttail hemline
- Replaced the collar/stand combo with the collar and stand from my Sewaholic Granville pattern and modified top of button band accordingly. I highly recommend this change! It's more professional and easier to sew.
- Omitted the button band fly for speed and simplicity and to reduce bulk. Also note, the method for adding the band is a bit confusing, so take it step-by-step.
- Cut size S bust w/ 1" FBA, size M hip at front, size L hip at back, based on finished garment measurements, accounting for distribution of curves
- Split at CB & added 1" sway back
- Made 1/2" broad shoulder adjustment This is more of a #sewingtall adjustment. The shoulder seems to be drafted with a reasonable amount of width.
- Took in sides, 1/4" at hem, tapering to nothing at hip
- Shortened front by even 1" (removing some of the length from the FBA)
- Set sleeves in flat for simplicity
- Pressed under 1/2" instead of 5/8" for sleeve band to allow for stitching-in-the-ditch, rather than slip stitching by hand
- And I sewed the back pleat backwards to allow the pleat to open for my larger side (no one's symmetrical, right ;P ) Personally, I think the instructions for the pleat were a bit confusing anyway, but I'm happy with how mine worked out.
- Topstitched the collar and edgestitched the yoke for a more professional finish which is funny because my machine's timing went off and there are several skipped stitches on those seams. Ah well!
- (Oh and I topstitched the inner placket to test the look and then decided against it for the outer band, but didn't remove it for fear of damaging the fabric. In case you wondered haha)
I suppose compared to some of the reviews I've posted lately, that seems like a lot. And I will say, that's generally one difference between the "Big 4" and indie sewing patterns - indie patterns are often designed by other sewists who see, and take into account, common changes like sway back and ease removal. That's not to say that the Big 4 patterns aren't ever worth the effort. I would argue they are. It's just about learning which changes you'll have to make with each pattern company and making those changes before starting. For me, I know I'll need a FBA, a sway back adjustment, and a broad shoulder adjustment, because my body doesn't match the block McCall's uses. I also I want to select one or two sizes smaller than recommended, because I like a little less ease, even in oversized garments. However, I think the overlapping back pleat really brings up the design level of this dress and was absolutely worth the extra bit of effort to ensure a good fit. But, if you prefer indies, the Closet Case Files Kalle Shirtdress is very similar and has outstanding reviews.
I've continued to wear this dress since we've been back from vacation and it just gets better with wear. I definitely should have discovered any annoying restrictions or whatnot by now and I'm so happy to say, there's none. It's such a great casual dress and a pattern I would recommend checking out!
So, what do you think? Do your favorites get better with time? Do you think pattern reviews are best done promptly or after the initial impression has worn off?
Happy sewing! xo






Too cute. The back pleat is perfection and your button/placket is very well done. Your notes on pattern changes is very helpful. First time visitor.
ReplyDeleteThank you, Pat! I’m so glad you find my notes helpful! I hope you’ll share if you make up the pattern too. Thanks for reading!
DeleteOh wow, yeah, that pleat is really wonderful. I definitely have warmed up to makes later, but I've also cooled. That's life I guess. : ) I really like the few McCall's patterns I've made though the finishing suggestions are often a bit weird!
ReplyDeleteIsn’t it? Such a nice detail! So true - I’ve definitely cooled as well. But, I learn from those too :)
DeleteMcCalls might just be my favorite of the Big 4, but I do tend to opt for cleaner finishes than those listed.
This is soooo cute! The tweaks you made are genius as most reviews complain about extra bulk on the back hips bc of the pleat.
ReplyDeleteI’m currently finishing view A so I was super excited to see you’d stolen the view A sleeve band for your dress bc I cannot figure out what they mean and have been scouring the webs for help. It says to turn in seam allowance on unnotched edge of band but if I sew the ends together as the first step says, both unsewn edges have notches based on the pattern piece. Ahh! So confusing...any suggestions?
Hi Anne-Marie! Wow, sorry for the delayed reply! (Blogger filed it as spam. If you ever have any questions in the future, and I don't reply quickly enough, please feel free to use the contact me form at the bottom of the blog so your message is sent directly to my email.) Thanks so much for your compliments :) For what it's worth, you're absolutely right about the notches! I don't see anything about it in my notes, but my pattern pieces has notches on both sides too. What I would, though I expect you've already done this, is just fold under the side that will be to the inside of the garment. I did make a note that I folded it under by 1/2", not 5/8" and stitched in the ditch to finish, so I seem to have done my own thing. Hope you've long finished and love your dress!!
Delete