The first half of this post was originally seen on the Cali & Co blog. The fabrics used were purchased with my allowance, but of course, all opinions are my own. To skip ahead and read about the awesome pockets I added, click here.
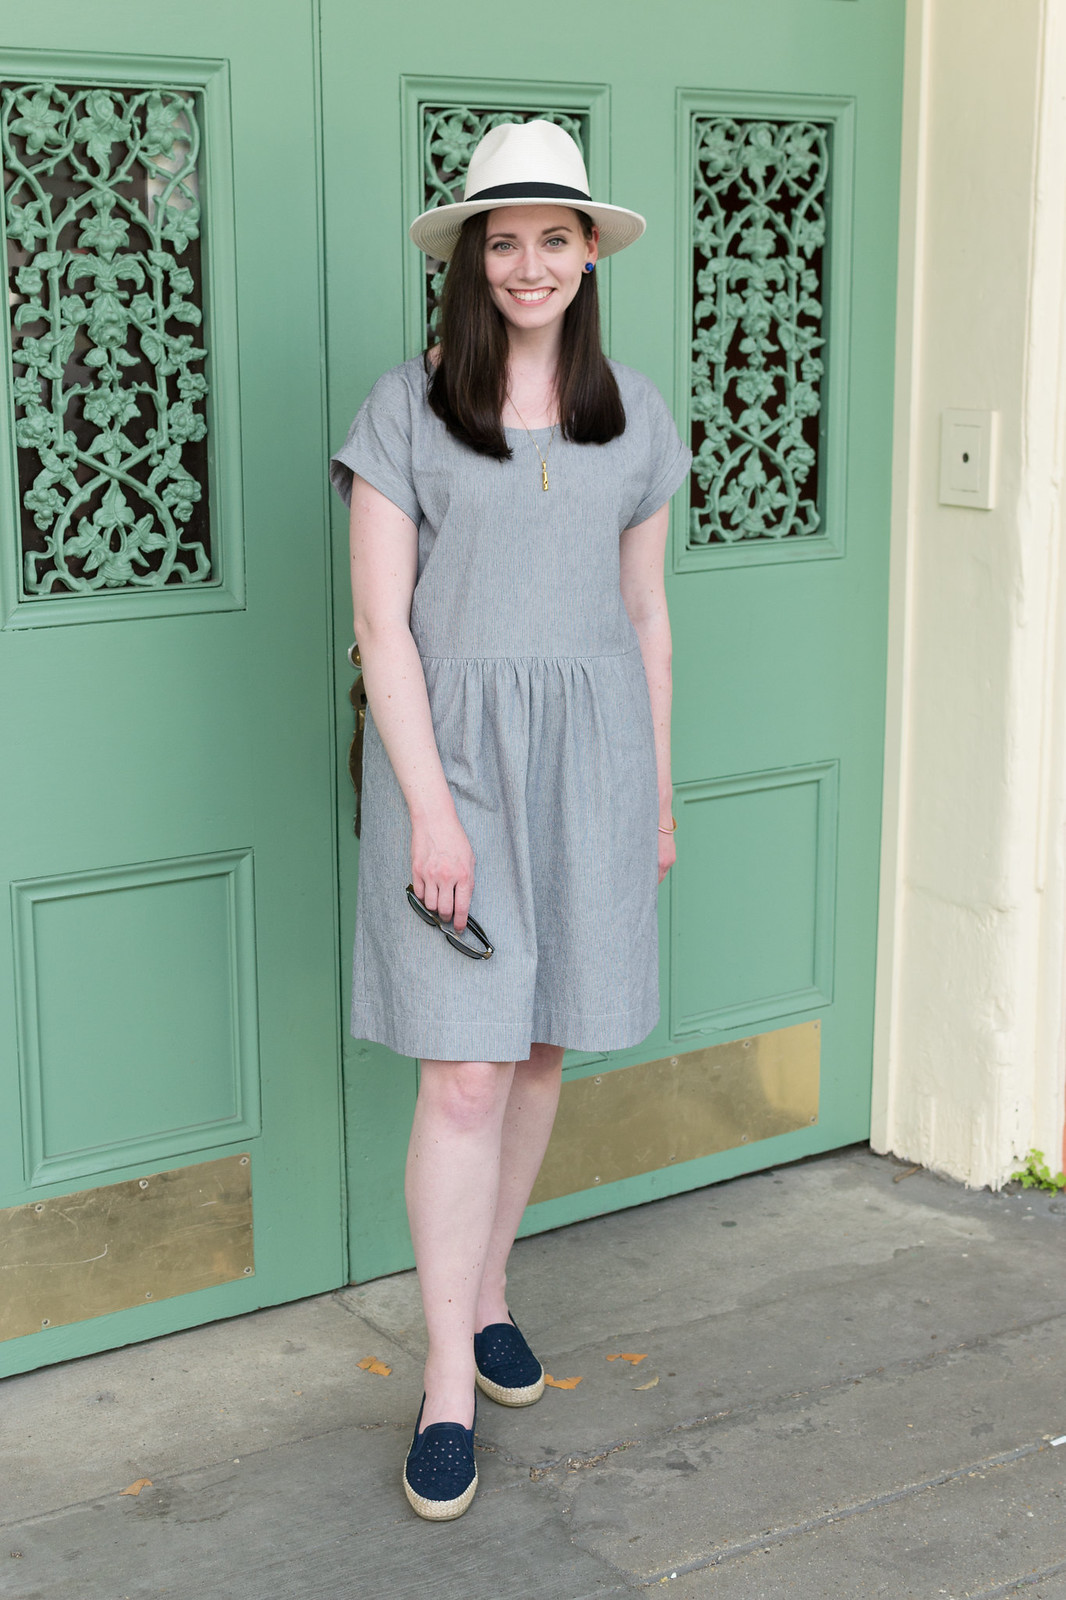
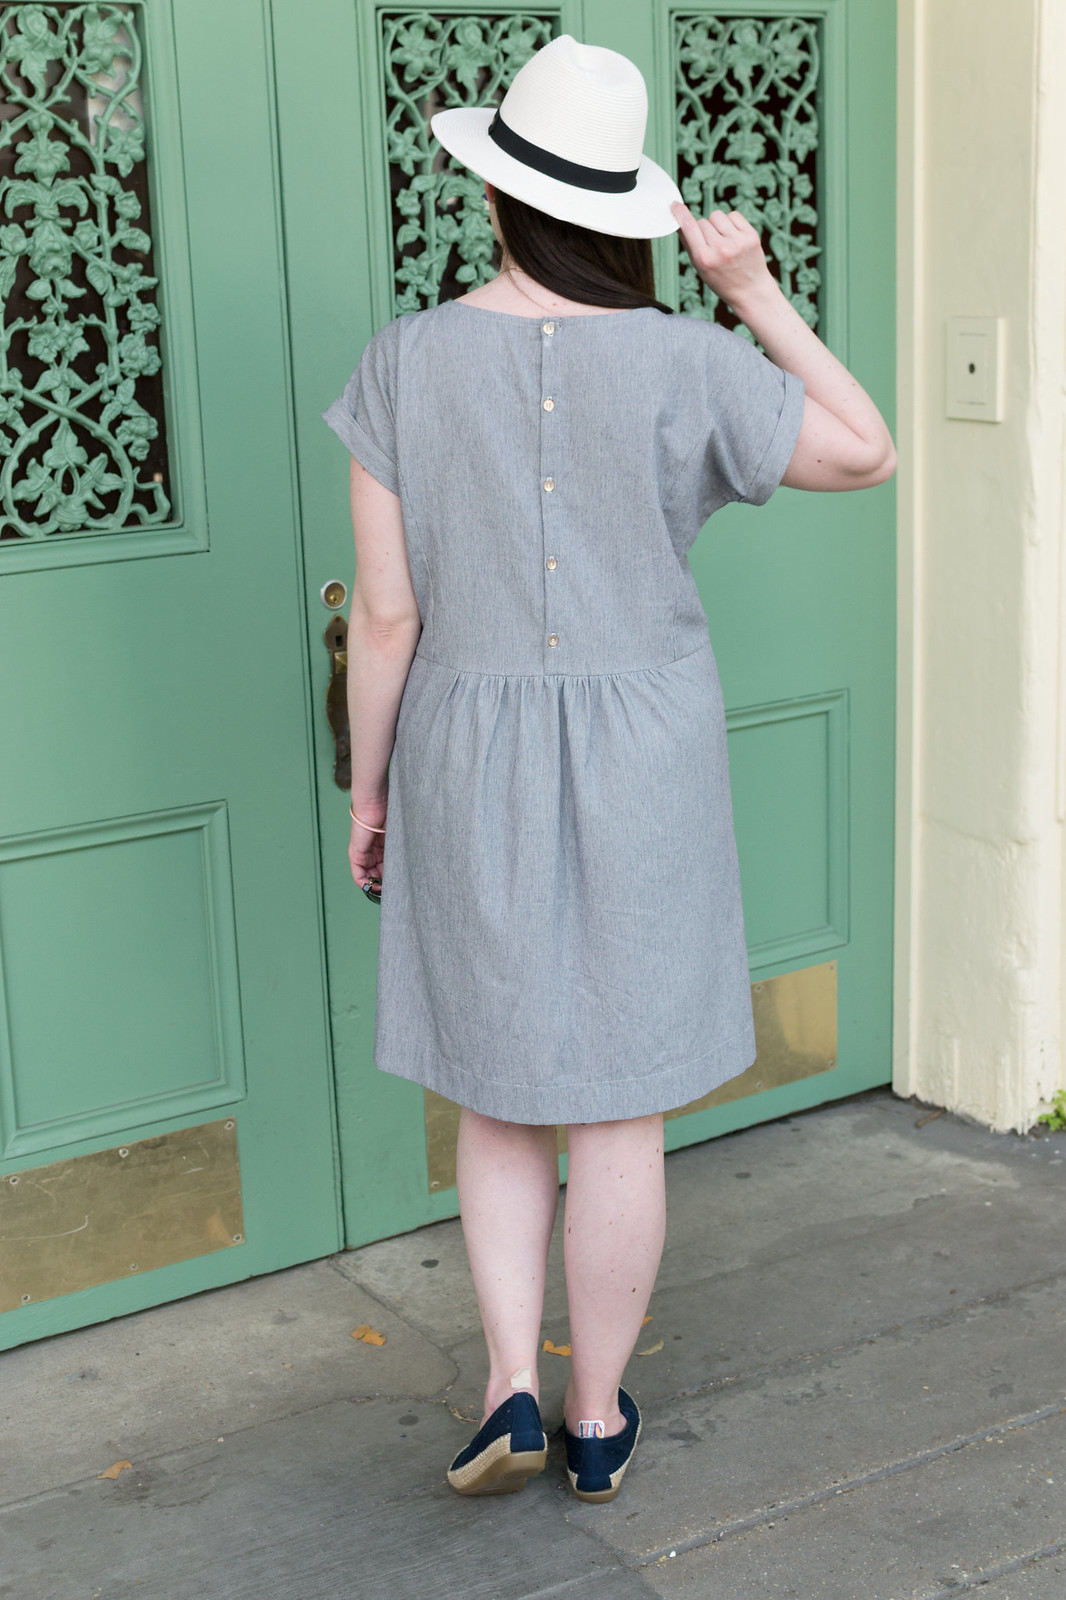
When we first started planning Chambray Week for Cali & Co, I knew I'd be prepping for a trip to New Orleans, so of course, a loose, casual dress was in order. I'd had a grey linen option on my queue, but when I saw this blue and white micro stripe, it jumped in my cart (I am always on the hunt for blue and white stripes!) and when I noticed it was described as "reading" as a blue grey, I knew it was meant to be!
Even better, the other vacation projects I was working on were shifty linen and lyocell, so sewing up this stable cotton was such a lovely break! It's so funny how, even if sewing the shiftier fabrics doesn't bother you (I rarely mind myself), it can be a bit of a relief to sew with something you know is going to go through the machine exactly how you want it too. It made this dress come together so quickly! I had the bulk of it done in just an afternoon and I'm not a speedy sewist. It cut perfectly, everything lined up as it should, and it pressed beautifully. Ah, cotton. Am I right?
And let me tell you, a cotton with a bit of body like this one is perfect for a hot and humid city like New Orleans! Granted, we visited in the spring but the sun was definitely shining for that day of the festival and I was comfortable the entire time. The body of the cotton kept the dress off me, which is crucial for staying cool, and the fabric, as are all chambrays I've tried so far, was completely breathable. Basically, this was ideal festival fabric ;)
And while I would normally (and have) pair this particular pattern with a drapier fabric, I found this to be the perfect vacation combo, for the same reasons. Especially with the extra deep pockets I added.
You see, while I was cutting the fabric, my fiancé and I decided the pockets needed to be even more amazing. I added about 5.5" to the total depth so that I could fit my hand with my arms completely at my sides. Side note: this massive new pocket was also the perfect size for stashing the cd I bought at one of the performances. AND because he knew I'd likely be wearing this on dog walks too, when I don't carry a handbag, he "drafted" a tiny key pocket for the inside of one and a card pocket for the inside of the other pocket. Isn't he great? Apparently, hidden pockets like that are common on men's clothes? Save for jeans, I've definitely never owned anything with pocket nearly that functional. Have you?
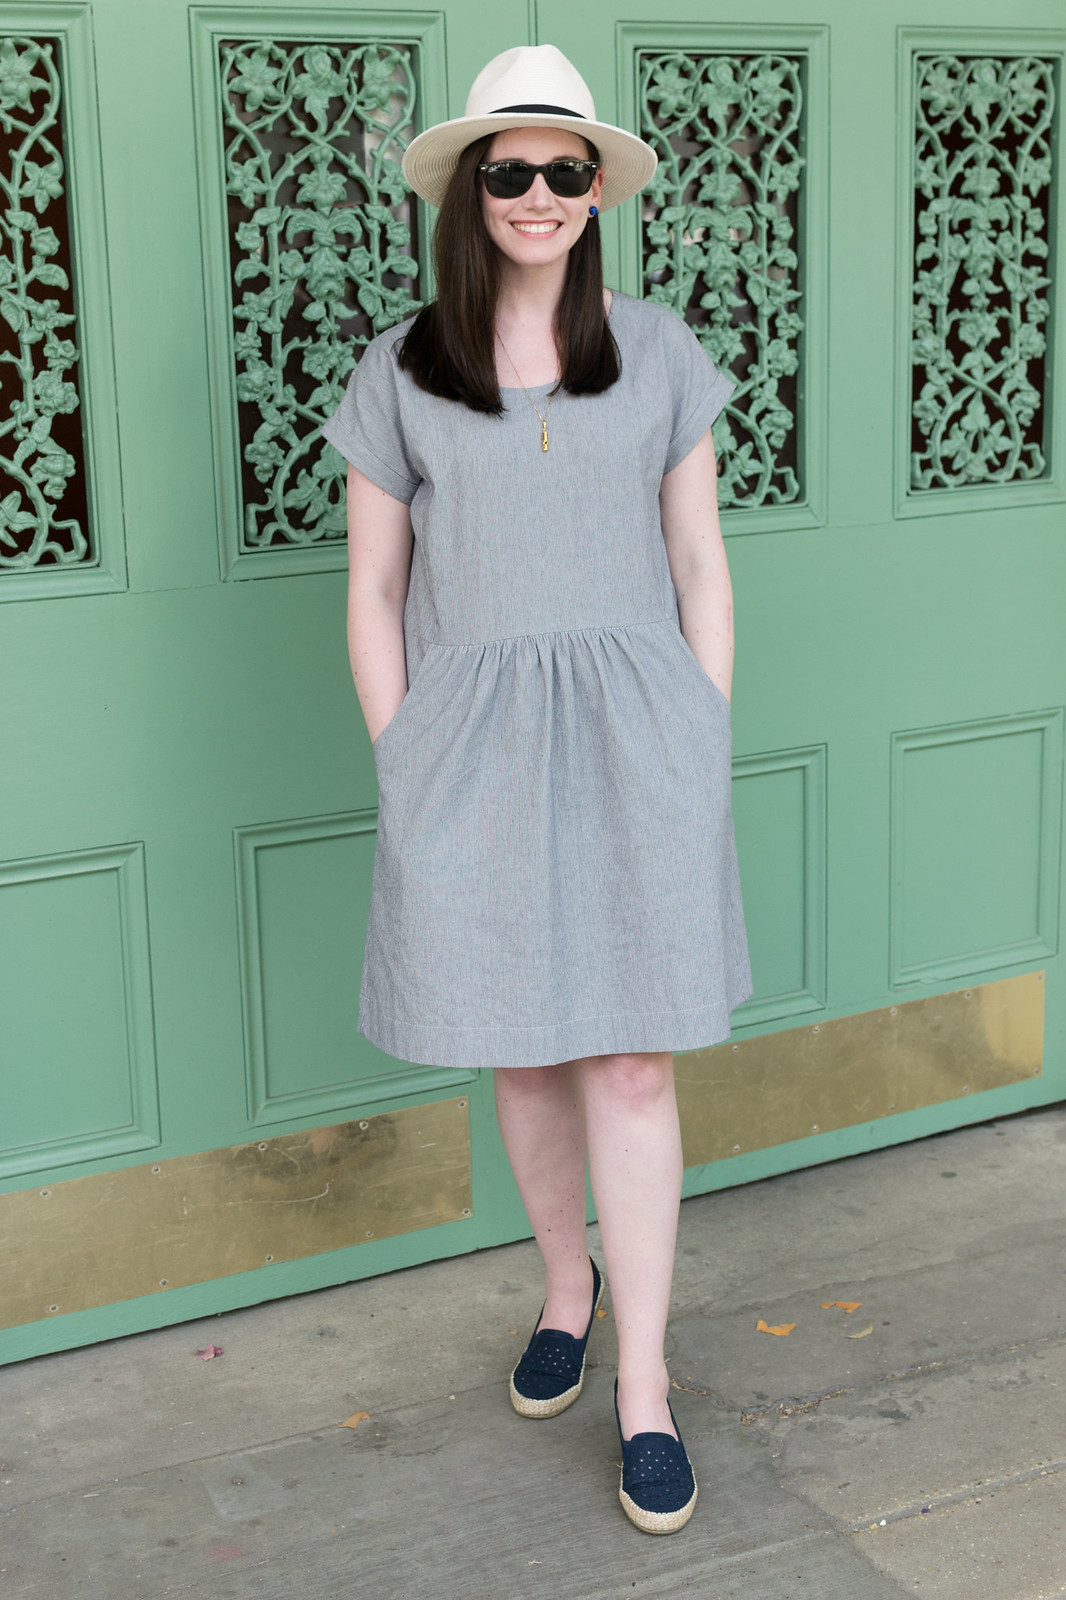
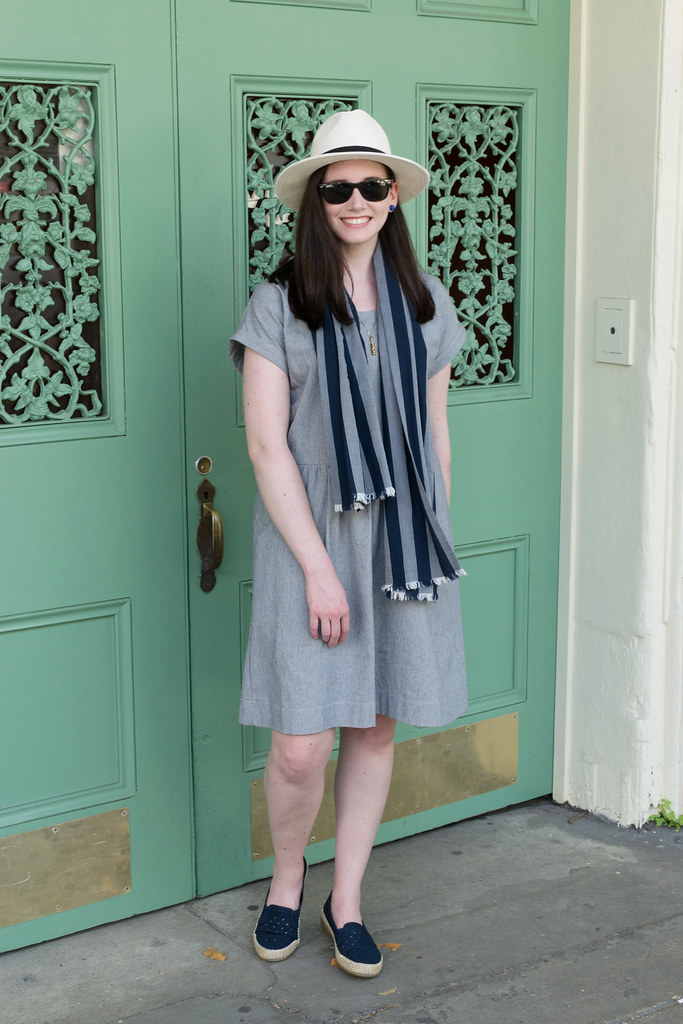
Dress: Fabric: midweight chambray c/o Cali Fabrics Pattern: The Forsythe Dress c/o French Navy // Hat: LLBean // Sunglasses: Ray-Ban // Earrings: J.Crew // Necklace: J.Crew // Bracelet: Kate Spade // Shoes: VanEli
Thanks again to my Instagram friends for voting for these rose gold buttons! x
But, back to the chambray (and the original post). I love how many varieties there are, don't you? The dress fabric was a little weightier and had a bit of body and my next one is light as a feather and has a rather soft hand.
Knowing that the sun in New Orleans can be a bit intense, I thought a lightweight scarf would be a great idea! And low-and-behold I found more stripes haha. A scarf like this is perfect for keeping the sun off while being light enough to not add too much warmth. And they're also my favorite way to use a single yard piece of fabric that I love, but don't have a project in mind for. Making one the way I do actually preserves the fabric so you can always use it for another project later!
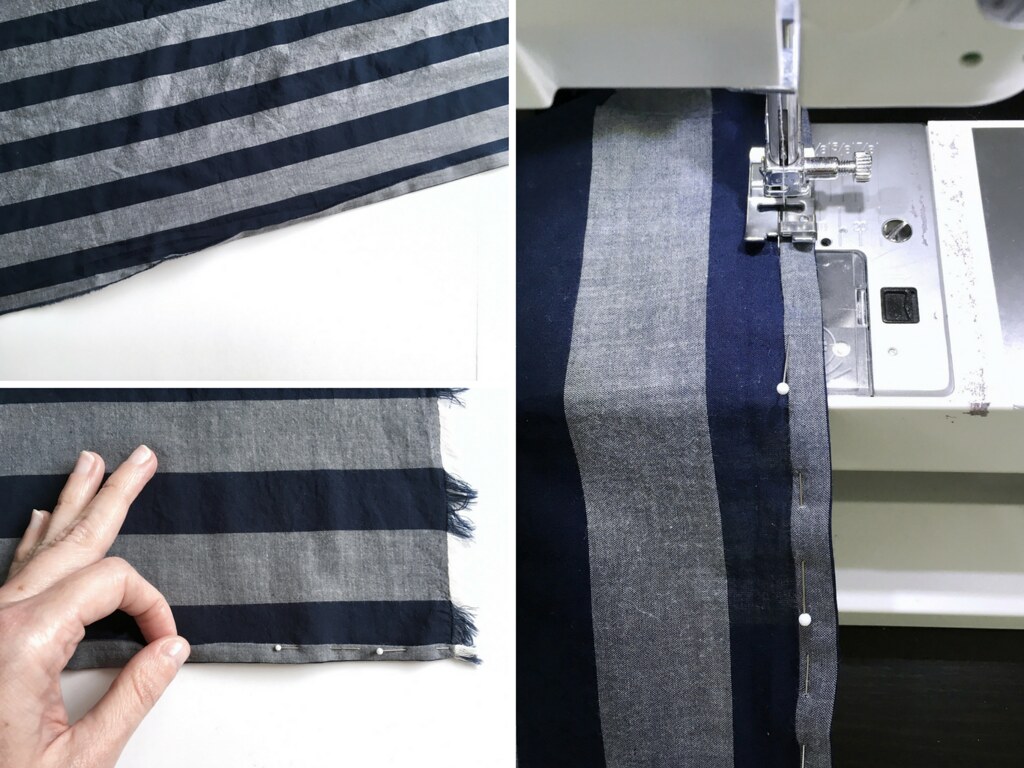
I took a few photos while I made this one to show just how easy it is:
- Straighten the grain (if needed, this one was cut straight) and thoroughly press fabric
- If your fabric has frayed selvedges, like this one, simply press up a 1/2" hem along both cut edges, then fold the raw edge into the hem
- Stitch close to the folded edge (tip: If sewing a striped fabric, I like to match my bobbin thread to the underside and my top thread to the, well, top.)
- Press the hem and you're done!
- If your selvedges aren't frayed, you can stitch a line just inside them and then use a needle to fray them OR if the selvedges are too tightly woven, you can cut them off right along the edge, sew a straight line 5/8" from the new cut and use a pin to gently remove the parallel threads.
- Then, hem the shop-cut edges as above and you're done!
Happy sewing! x






No comments:
Post a Comment
Let's keep the conversation going! Feel free to comment below or on Instagram!
If you want to comment without linking to your profile (or if you don't have an account), please choose "Name/URL" from the drop-down and leave your first name (website optional) so I know who I'm responding to. I can't wait to read your feedback! x